

Getting started
In the past months I have been writing quite a lot about Azure Logic Apps, and while they are an Azure specific service, they can run everywhere! This can be accomplished by adding your Logic App to a container and deploy it on-premise, on the edge or even another Cloud provider. This brings a lot of flexibility to this already amazing service.
NOTE: Containerized Logic Apps, will have some limitations, such as types of Authentication and Connectors (Triggers and Actions) that can be used.
To get started with creating your containerized Logic App, you will need have some software installed:
- latest version of VS code
- Azure Function Tools V3+
- Docker Desktop
- Linux subsystem for Windows
- Postman or any other tool that can send HTTP requests.
Containerized Logic Apps use the Azure Function runtime and .NET core framework to be able to run. With the whole list installed, you will be good to go!
The Logic App
To start a new project within VS Code, press F1 and search for Azure Logic Apps: Create new project.... Create a new folder or choose an existing one. You will be asked to choose between Stateless or Stateful; in this example choose Stateless. After this, a basic project will be set up.
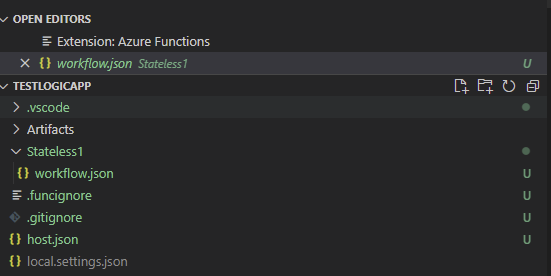
Now we need to make some changes to get set up to what we need. First up, go into the .vscode folder and open the launch.json. By default the Launch.json can contain a dependency on .NET, which we don't want, since the settings.json specifies Javascript. If this is the case, replace it with the following code:
{
    "version": "0.2.0",
    "configurations": [
        {
            "name": "Attach to Node Functions",
            "type": "node",
            "request": "attach",
            "port": 9229,
            "preLaunchTask": "func: host start"
        }
    ]
}
Also go to the tasks.json and change the "command": "dotnet" to "command": "node". With this, everything is set for local testing and there will be no errors caused by mismatches or dependencies.
By right clicking on your Workflow.json you will see the option Open in Designer. You will have to login to your Azure account, select a subscription and a resource group. This is especially handy when you want to create a Logic App from Scratch.
NOTE: On windows you might get some pop-ups, asking you to allow the Azure Functions Tools and VS Code IDE some access.
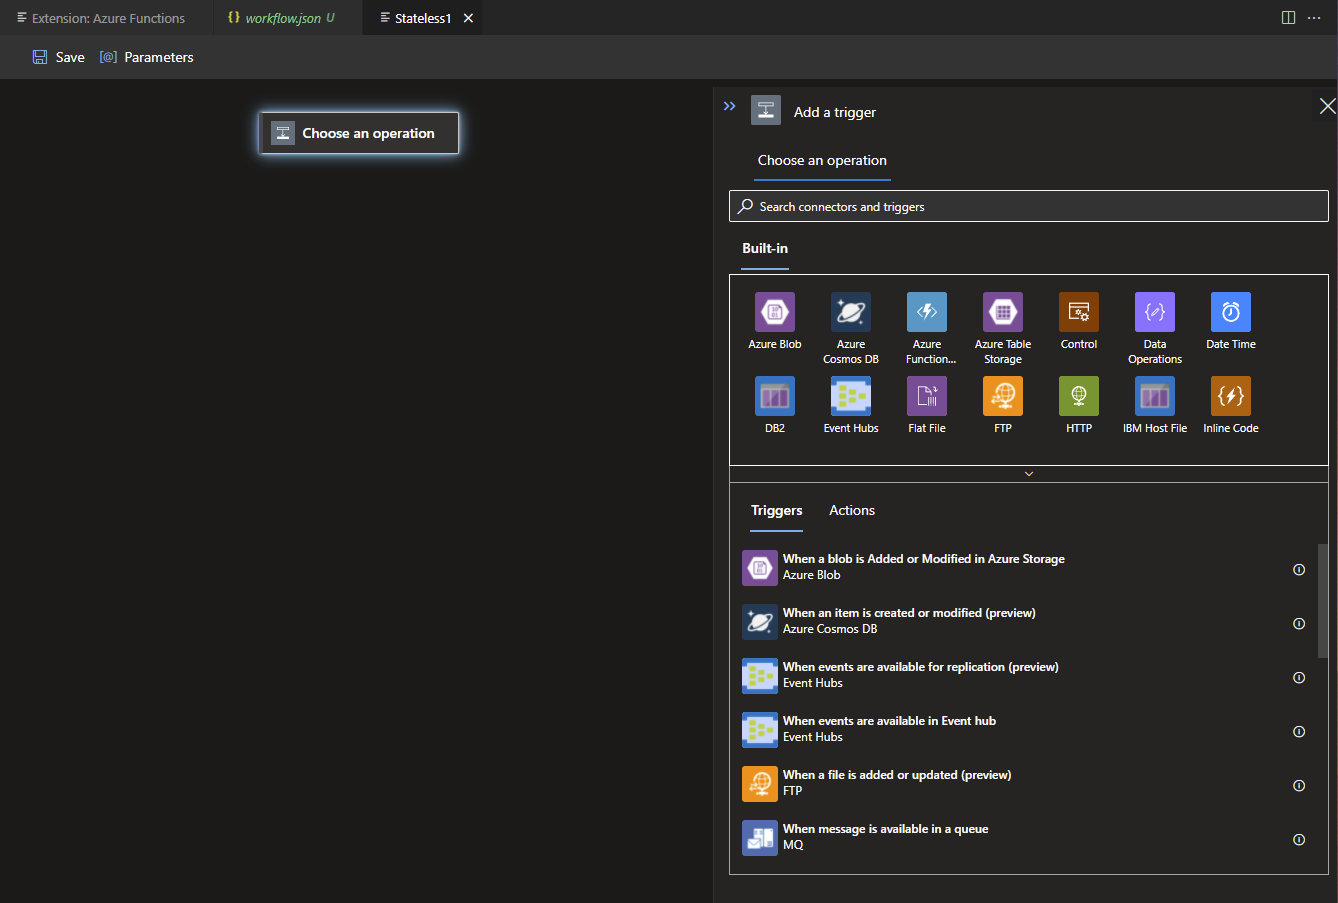
As seen in the image above, a limited amount of Triggers are available. This also goes for Actions, but if you have an existing Logic App that only uses the limited options available you will be able to copy and paste your code in the workflow.json file.
{
    "definition": {
        "$schema": "https://schema.management.azure.com/providers/Microsoft.Logic/schemas/2016-06-01/workflowdefinition.json#",
        "actions": {},
        "triggers": {}
    },
    "kind": "Stateless"
}
Replace the "definition":, "actions": and "triggers": properties with your own Logic App Code. Check in the Designer whether your connections and code are still working: this sometimes might need a rework some connections or update them.
Docker
Create a new file in your project called: Dockerfile, no file extension is needed for this file.
Add the following code to the Dockerfile:
FROM mcr.microsoft.com/azure-functions/node:3.0

ENV AzureWebJobsStorage={Azure Storage Account Connection string}
ENV AzureWebJobsScriptRoot=/home/site/wwwroot
ENV AzureFunctionsJobHost__Logging__Console__IsEnabled=true
ENV FUNCTIONS_V2_COMPATIBILITY_MODE=true
ENV WEBSITE_HOSTNAME localhost
ENV WEBSITE_SITE_NAME TestLogicApp
ENV AZURE_FUNCTIONS_ENVIRONMENT Development

COPY . /home/site/wwwroot
RUN cd /home/site/wwwroot
As you see in the code, you will need an Azure Storage Account and its connection string. This is needed because an Azure Function requires it as well, and Containerized Logic Apps run on the Azure Function runtime as specified before.
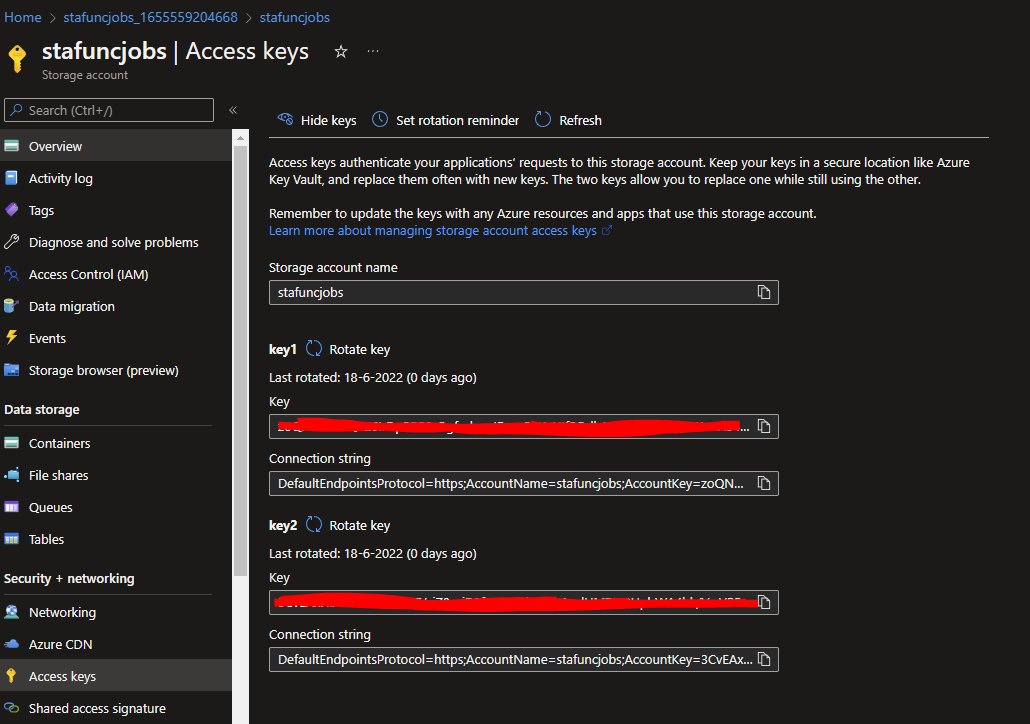
Create an Azure Storage Account or use an existing one. In the blade, click on Access Keys under the Security + networking category.
Here you will find a Connection string for Key1 and Key2.
Copy the Connection string from Key1 and paste this in your Dockerfile. The key should look something like: DefaultEndpointsProtocol=https;AccountName=stafuncjobs;AccountKey={Key};EndpointSuffix=core.windows.net
After you've added the connection string to your dockerfile, also add it in both local.settings.json files at the "AzureWebJobsStorage": property. The local.settings.json under the workflow-designtime folder might not have the property, so add it. This will make sure your logic app workflow will also look at the right Storage Account.
After this, we can create our container. For this we need to open the terminal in VS Code (CTRL+SHIFT+`) and run the following code:
docker build --tag testlogicapp .NOTE: Don't forget to add the space and the '.', or the command won't work. You can replace the tag (which is the name of the container) with anything you prefer.
And secondly, we need to run the container locally:
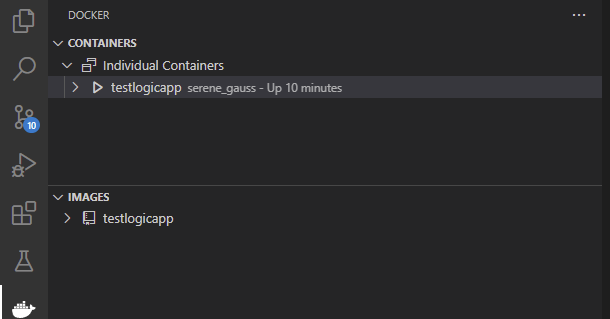
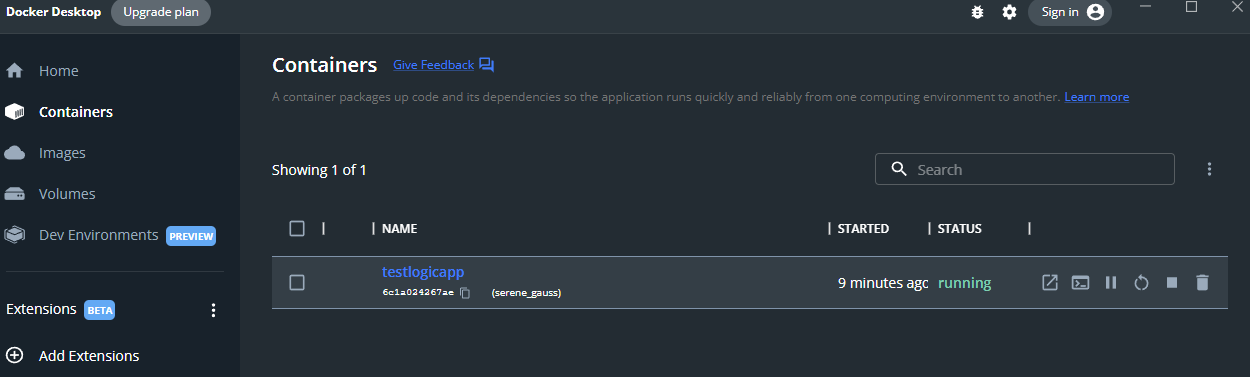
docker run -p 8080:80 testlogicappWith the VS Code docker extension you can see it running locally, as well as if you open Docker Desktop.
Connecting to our Logic App
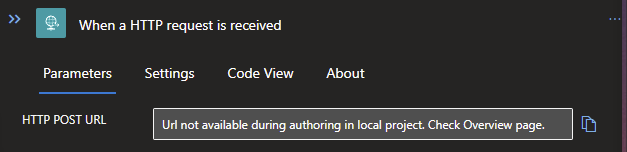
Now we've got a Logic App running inside of a Docker container. Very cool! But when using HTTP Request trigger, you will need an endpoint to which to connect. But you will see in your Logic App that the Endpoint is not available as it normally is within the Azure Portal.
For this we need to check our Azure Storage Account and Postman. You will now find a freshly created storage container called azure-webjobs-hosts and azure-webjobs-secrets. In the azure-webjobs-secrets container, you will find a Host.json which contains a master key that will authenticate your requests to your Containerized Logic App.
The Host.json file can be viewed from the Edit tab in your Storage Account when looking via the Azure Portal and will contain the following content:
{
  "masterKey": {
    "name": "master",
    "value": "sqRgTk3fVyzzGUWh-PT7Zz8-hE7ePtYuAj4RTtxKiX4nAzFuSB8O2w==",
    "encrypted": false
  },
  "functionKeys": [
    {
      "name": "default",
      "value": "RgsISmBdK5lZEv_xpjhqWXfpNVkJk3rsL2TUJHZ7VdesAzFuUCZkng==",
      "encrypted": false
    }
  ],
  "systemKeys": [
    {
      "name": "workflow_extension",
      "value": "EHpOXwjpASv477K0yZsNeZBFRbW6ePA7DcqRK8hhh0KsAzFuA0BkZw==",
      "encrypted": false
    }
  ],
  "hostName": "localhost",
  "instanceId": "000000000000000000000000BC724939",
  "source": "runtime",
  "decryptionKeyId": ""
}
Copy the value from your MasterKey and open Postman. Create a new request with the following:
Methode: POST
URI: http://localhost:8080/runtime/webhooks/workflow/api/management/workflows/**{your logic app workflow name}/triggers/manual/listCallbackUrl?api-version=2020-05-01-preview&code={MasterKey}**, For me the name was Stateless1 as auto-generated by the VS Code project and the MasterKey as seen in the above code.
You should get a similar result as:
{
"value": "https://localhost:443/api/Stateless1/triggers/manual/invoke?api-version=2020-05-01-preview&sp=%2Ftriggers%2Fmanual%2Frun&sv=1.0&sig=UqWW_GqaY2eW1cPnHdzfSZUXXqaOCfHWQVZGy2A6Plk",
"method": "POST",
"basePath": "https://localhost/api/Stateless1/triggers/manual/invoke",
"queries": {
"api-version": "2020-05-01-preview",
"sp": "/triggers/manual/run",
"sv": "1.0",
"sig": "UqWW_GqaY2eW1cPnHdzfSZUXXqaOCfHWQVZGy2A6Plk"
}
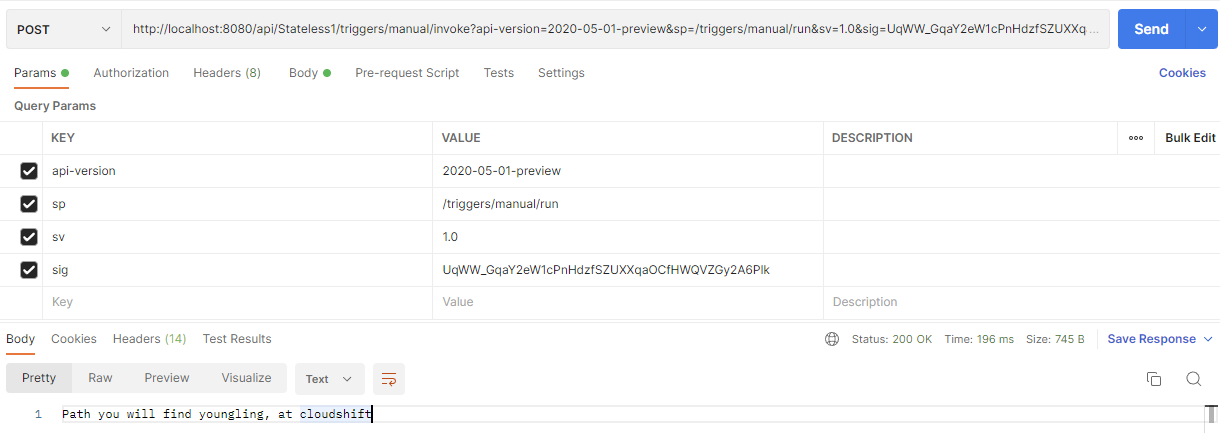
}Now that we know all the properties we need to supply in the request to our Containerized Logic App we can do so by making a new Call via Postman with the following:
Method: GET/POST/PUT/PATCH/DELETE, depending on which you specified in your Logic App.
URI: http://localhost:8080/api/**{your logic app workflow name}/triggers/manual/invoke?api-version=2020-05-01-preview&sp={value for sp}&sv={value for sv}&sig={value for sig}**
Now you know how to Containerize your Logic App! Now its up to you to go and deploy it elsewhere!
What's Next?
Next week in the 4th Edition of the Dutch MCT Community, hosting will require a bit more work since it will be social event with a barbecue and I'm also the grill master. Stayed tuned for next weeks blog!