Previously
In the previous blog of this series I talked about what a custom connector is and what the use case for them might be. In this blog I will show how to create a simple custom API in Azure Functions, which can be used to create a custom connector within the next instalment of this series.
Before we start, it might be the case you have never worked with Azure Functions before and don't yet know what they are. Azure Functions is a serverless compute service that enables you to run small pieces of code, called "functions," in Azure. With Azure Functions, you can create and deploy custom functions to handle events from Azure services or third-party services, such as a message arriving in a queue, a file being added to blob storage, or an HTTP request to a REST API, which we will be using.
You can write your functions in several programming languages, such as C#, Python, Java, JavaScript and more. Azure Functions is a fully managed service, which means that you don't have to worry about infrastructure or maintenance.
Now that you know what we will be working with, let's dive into creating our function.
Creating the Azure Function
To start properly, we will need to have some requirements met, which are as followed:
- Have VS code installed.
- Have the Azure Tools extension installed inside of VS Code.
- Have the C# extension installed inside of VS Code.
- Last but not least, have a active Azure subscription with contributor access.
First up let's start with signing-in to Azure via VS code. This can be done by going to the Azure tab on the leftside and by expanding the RESOURCES menu. When expanded, click on Sign in to Azure..., you will be prompted with an Sign-in screen, sign-in and you are ready for the steps at the end.

Now let's start with some local development of our Azure Function. You can use the F1 key to enable the searchbar to display all options possible, otherwise you can type-in the symbol and continue by searching for Azure Functions: Create Function..., with this option you will start local development.

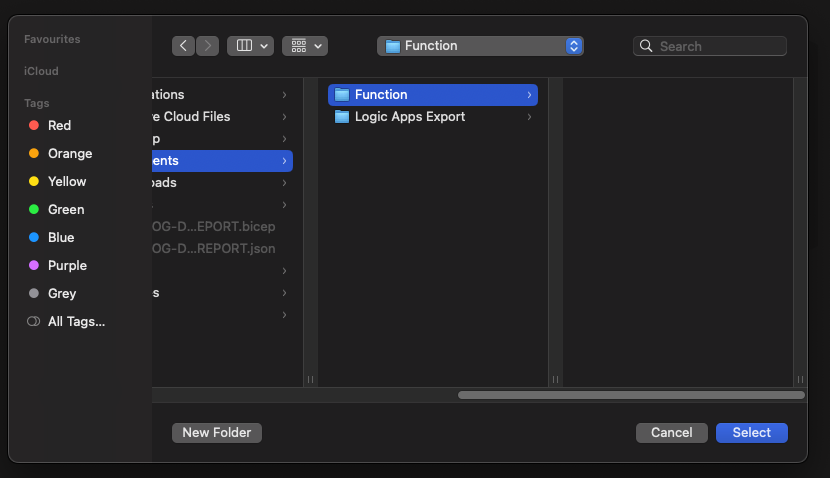
Select a directory in which you want to start your local development project, in my case I created a folder called Function.
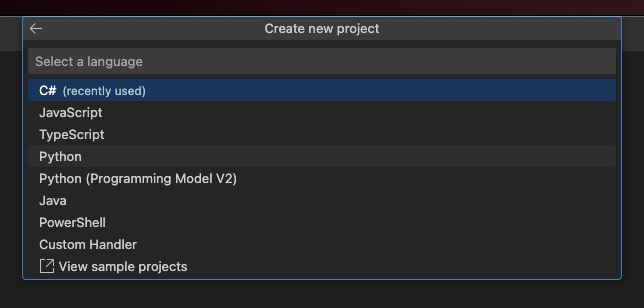
After selecting your directory you will be asked for a language to develop in. In this blog I will be using C# as the language, and if you want to re-use any of the code in this blog, please follow along.
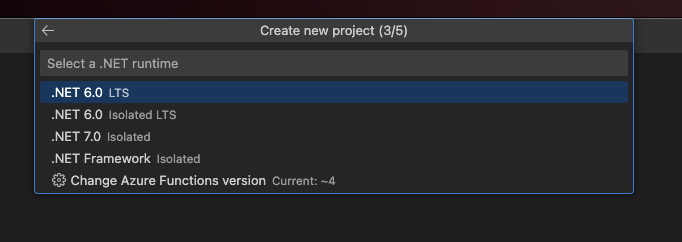
Next up is the version of the runtime we would like to use, in this case .NET 6.0 LTS.
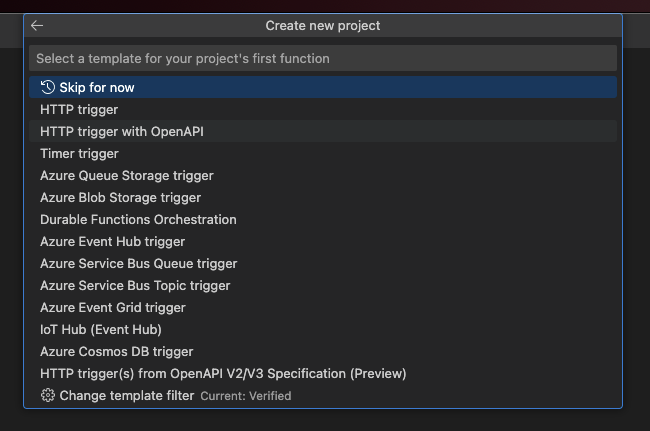
You will be asked to choose one of many trigger options, since we will need an OpenAPI definition in this blog series, choose the HTTP trigger with OpenAPI option.
A namespace will need to be added to our C# function. Most of the times this will always start with Company. followed by a logic naming for the function. In my case I went for Company.Example.

Last but not least, the Authorisation will need to be configured. For the ease of use, as well as for the next part in this series, choose Anonymous.

With all steps completed, you should be greeted with a screen full of auto-genarated example code. This code will be re-used, but needs some additions to function correct and have a nicely documented OpenAPI/ Swagger.
Adding the code
With the project now in place, we will need to make the necessary adjustments to the code. To start let's add and replace the existing lines with the following two lines of C# code:
        [OpenApiRequestBody(contentType: "application/json; charset=utf-8", bodyType: typeof(RequestBody), Description = "The example request JSON body", Example = typeof(RequestBodyExample))] //ADD THIS LINE FOR OPENAPI TO ACCEPT A JSON BODY
        [OpenApiResponseWithBody(statusCode: HttpStatusCode.OK, contentType: "application/json", bodyType: typeof(ResponseBody), Description = "The OK response")] //CHANGED ContentType AND typeof() TO LISTEN TO JSON REQUEST
These two lines of code will make sure that the OpenAPI definition will accept our JSON body in its request, as well as for its response. When added, your code should look the same as the code depicted below.
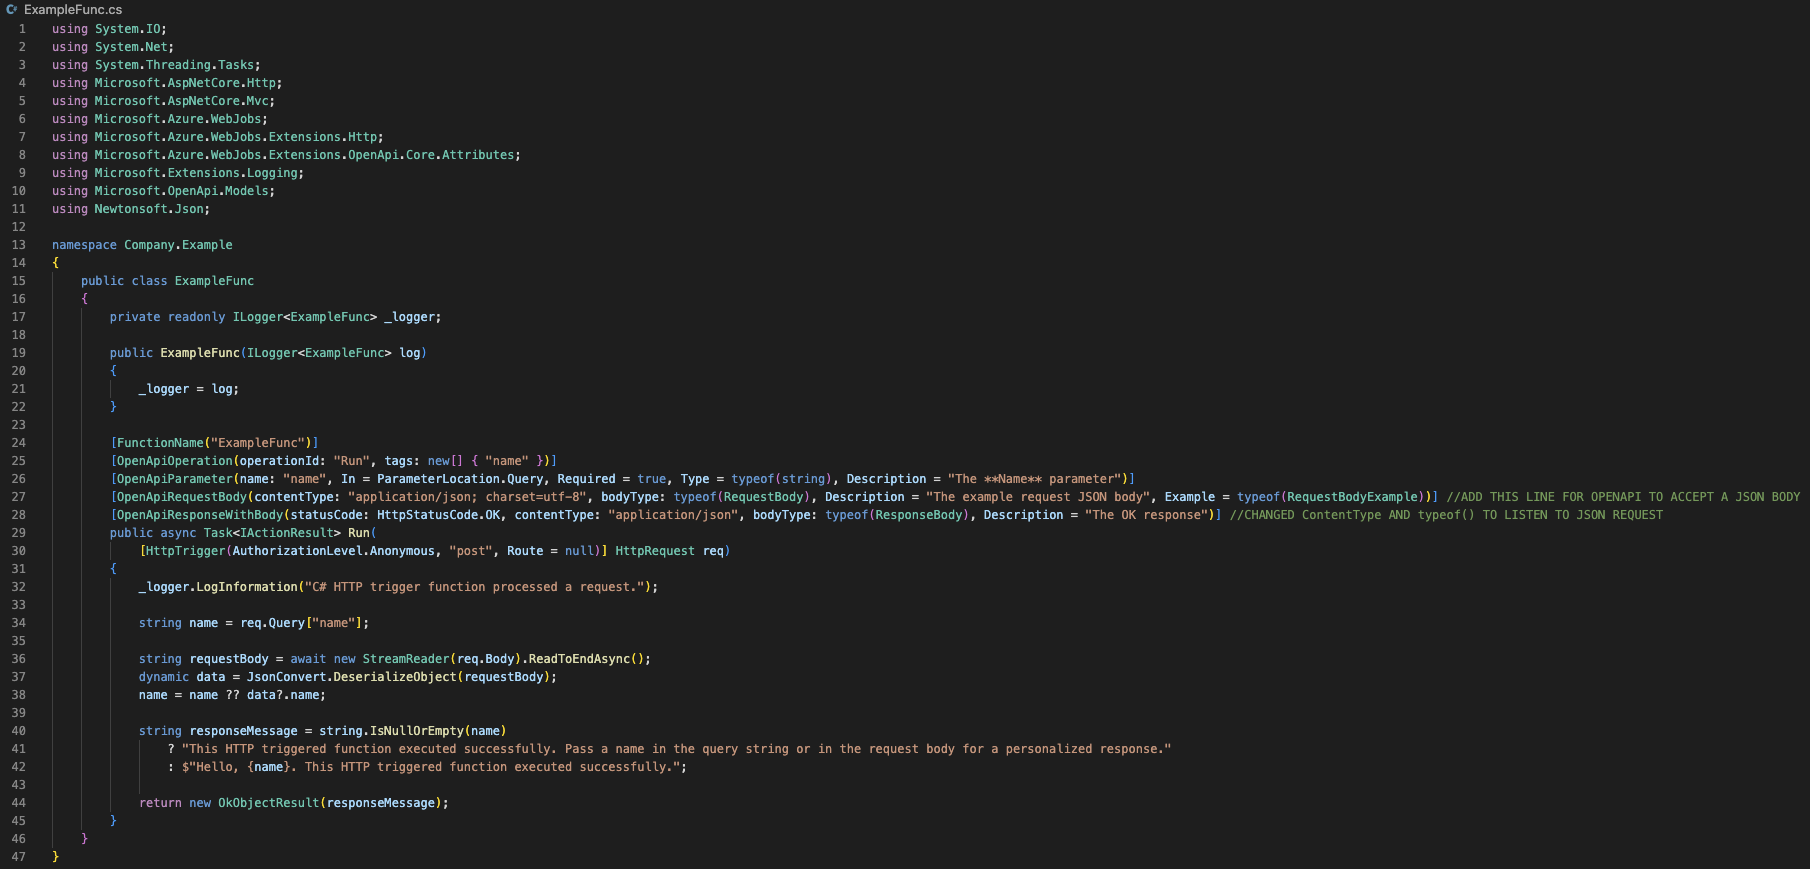
If you want to be sure that everything was done right, you can copy the code below and paste in your C# file.
using System.IO;
using System.Net;
using System.Threading.Tasks;
using Microsoft.AspNetCore.Http;
using Microsoft.AspNetCore.Mvc;
using Microsoft.Azure.WebJobs;
using Microsoft.Azure.WebJobs.Extensions.Http;
using Microsoft.Azure.WebJobs.Extensions.OpenApi.Core.Attributes;
using Microsoft.Extensions.Logging;
using Microsoft.OpenApi.Models;
using Newtonsoft.Json;

namespace Company.Example
{
    public class ExampleFunc
    {
        private readonly ILogger<ExampleFunc> _logger;

        public ExampleFunc(ILogger<ExampleFunc> log)
        {
            _logger = log;
        }

        [FunctionName("ExampleFunc")]
        [OpenApiOperation(operationId: "Run", tags: new[] { "name" })]
        [OpenApiParameter(name: "name", In = ParameterLocation.Query, Required = true, Type = typeof(string), Description = "The **Name** parameter")]
        [OpenApiRequestBody(contentType: "application/json; charset=utf-8", bodyType: typeof(RequestBody), Description = "The example request JSON body", Example = typeof(RequestBodyExample))] //ADD THIS LINE FOR OPENAPI TO ACCEPT A JSON BODY
        [OpenApiResponseWithBody(statusCode: HttpStatusCode.OK, contentType: "application/json", bodyType: typeof(ResponseBody), Description = "The OK response")] //CHANGED ContentType AND typeof() TO LISTEN TO JSON REQUEST
        public async Task<IActionResult> Run(
            [HttpTrigger(AuthorizationLevel.Anonymous, "post", Route = null)] HttpRequest req)
        {
            _logger.LogInformation("C# HTTP trigger function processed a request.");

            string name = req.Query["name"];

            string requestBody = await new StreamReader(req.Body).ReadToEndAsync();
            dynamic data = JsonConvert.DeserializeObject(requestBody);
            name = name ?? data?.name;

            string responseMessage = string.IsNullOrEmpty(name)
                ? "This HTTP triggered function executed successfully. Pass a name in the query string or in the request body for a personalized response."
                : $"Hello, {name}. This HTTP triggered function executed successfully.";

            return new OkObjectResult(responseMessage);
        }
    }
}
The main file might already start showing some red lines with errors, due to it missing the required references. For this we need to create 2 classes, RequestBody.cs and ResponseBody.cs. But before we create those classes, we will need a folder called OpenApi. A folder can be created by clicking on the folder icon with a + symbol and entering OpenApi as name.

With the folder created, click on it and click on the add file icon to add the two C# files called RequestBody.cs and ResponseBody.cs.

The ResponseBody.cs will contain our code to resolve and properly show our results in the OpenApi/Swagger UI. For this we need some custom code and the following below can be used.
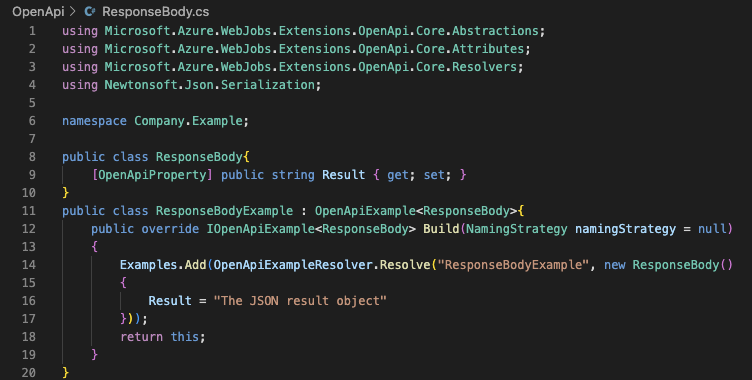
To make it also easier, you can copy the code below and paste is in the ResponseBody.cs file.
using Microsoft.Azure.WebJobs.Extensions.OpenApi.Core.Abstractions;
using Microsoft.Azure.WebJobs.Extensions.OpenApi.Core.Attributes;
using Microsoft.Azure.WebJobs.Extensions.OpenApi.Core.Resolvers;
using Newtonsoft.Json.Serialization;

namespace Company.Example;

public class ResponseBody{
    [OpenApiProperty] public string Result { get; set; }
}
public class ResponseBodyExample : OpenApiExample<ResponseBody>{
    public override IOpenApiExample<ResponseBody> Build(NamingStrategy namingStrategy = null)
    {
        Examples.Add(OpenApiExampleResolver.Resolve("ResponseBodyExample", new ResponseBody()
        {
            Result = "The JSON result object"
        }));
        return this;
    }
}
Next up we will need to do the same for the RequestBody.cs file. This is used to be able to properly request via the OpenApi/ Swagger UI.
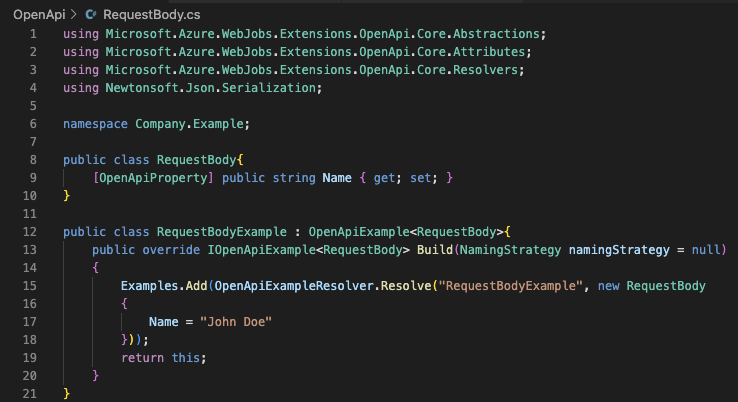
Also here is the code for convenience sake and to copy/ paste directly in RequestBody.cs the file.
using Microsoft.Azure.WebJobs.Extensions.OpenApi.Core.Abstractions;
using Microsoft.Azure.WebJobs.Extensions.OpenApi.Core.Attributes;
using Microsoft.Azure.WebJobs.Extensions.OpenApi.Core.Resolvers;
using Newtonsoft.Json.Serialization;

namespace Company.Example;

public class RequestBody{
    [OpenApiProperty] public string Name { get; set; }
}

public class RequestBodyExample : OpenApiExample<RequestBody>{
    public override IOpenApiExample<RequestBody> Build(NamingStrategy namingStrategy = null)
    {
        Examples.Add(OpenApiExampleResolver.Resolve("RequestBodyExample", new RequestBody
        {
            Name = "John Doe"
        }));
        return this;
    }
}
Save all the files by going to the left upper corner > File -> Save All, or simple Ctrl+S per file or any other way. Switch to the Explorer tab on the leftside, you will see WORKSPACE and when expanded it should show your Local Project.
When expanding the Functions it should show the Run build task to update this list..., click on it, and it will build the project. During the building process, the C# code will be compiled to working computer code. This will only take a few seconds for this small project.

Create an Function App in Azure
With the project build and ready to run, we want to deploy it Azure. But before we can do this, a Function App will need to be created in Azure itself. Go to the Azure tab, in which you already signed-in at the beginning of this blog. Above your subscription on which you should be contributor, a + icon called Create Resource... should be present, click on it.

Some options will appear and if the Create Function App in Azure shows up, click it. If not, search for it and select it via that route.

You will be asked to specify a Globally unique name for your Azure Function, this name will also be used in a manner to automaticly create a resourcegroup with the same name.

Since our C# code is based on the .NET 6 runtime as configured before, we need to select it now as well.

And finally a region to deploy the Function App in. Since I'm from the Netherlands, West Europe is my preffered choice.
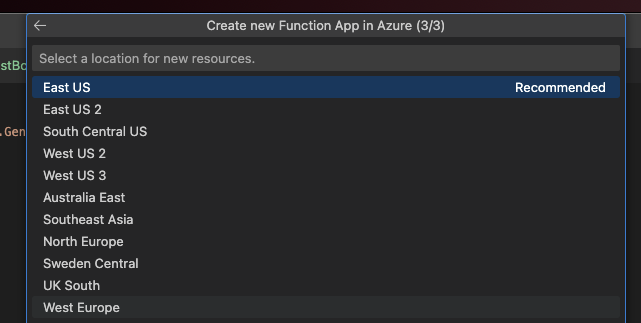
The Function App will now be created and the creation progress can be followed in the Terminal screen. When its done, it will also display it accordingly with a green check infront of it. When the Function App is created, we can move on to Publishing our local code and start testing it in the browser!

Publish the code
To publish our code, we will need to go back to the Explorer tab, and clicking on WORKSPACE and continue by clickinh on the little Cloud icon with the arrow in it. It should show you the option Deploy to Function App..., if so, click on it.

You will be asked to choose an available Function App, do so by selecting the one you created earlier.

Since all Function Apps come by default with the auto-genarated code, you might be prompted with the question if you would like to override the current present code. Since we made some changed and additions to it we still need to get that code in Azure and to do so click on the Deploy button.
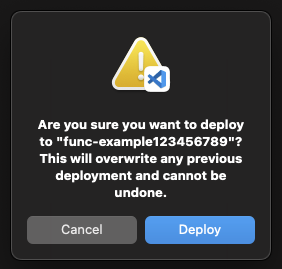
This can take serveral seconds as well, but after it's done, a check mark will applear in the right leftcorner next to publish (functions) Task.

Testing the API
Our development work is now done and we can start testing our API live in Azure. This is something you would normally do locally and eventually automated in a CI/CD pipeline, but for this examples sack we can test it straight in Azure itself.
Go to https://YOURFUNCTIONNAME.azurewebsites.net/api/swagger/ui, this will bring you to the OpenApi/ Swagger UI in which you will see all the information about our created API.
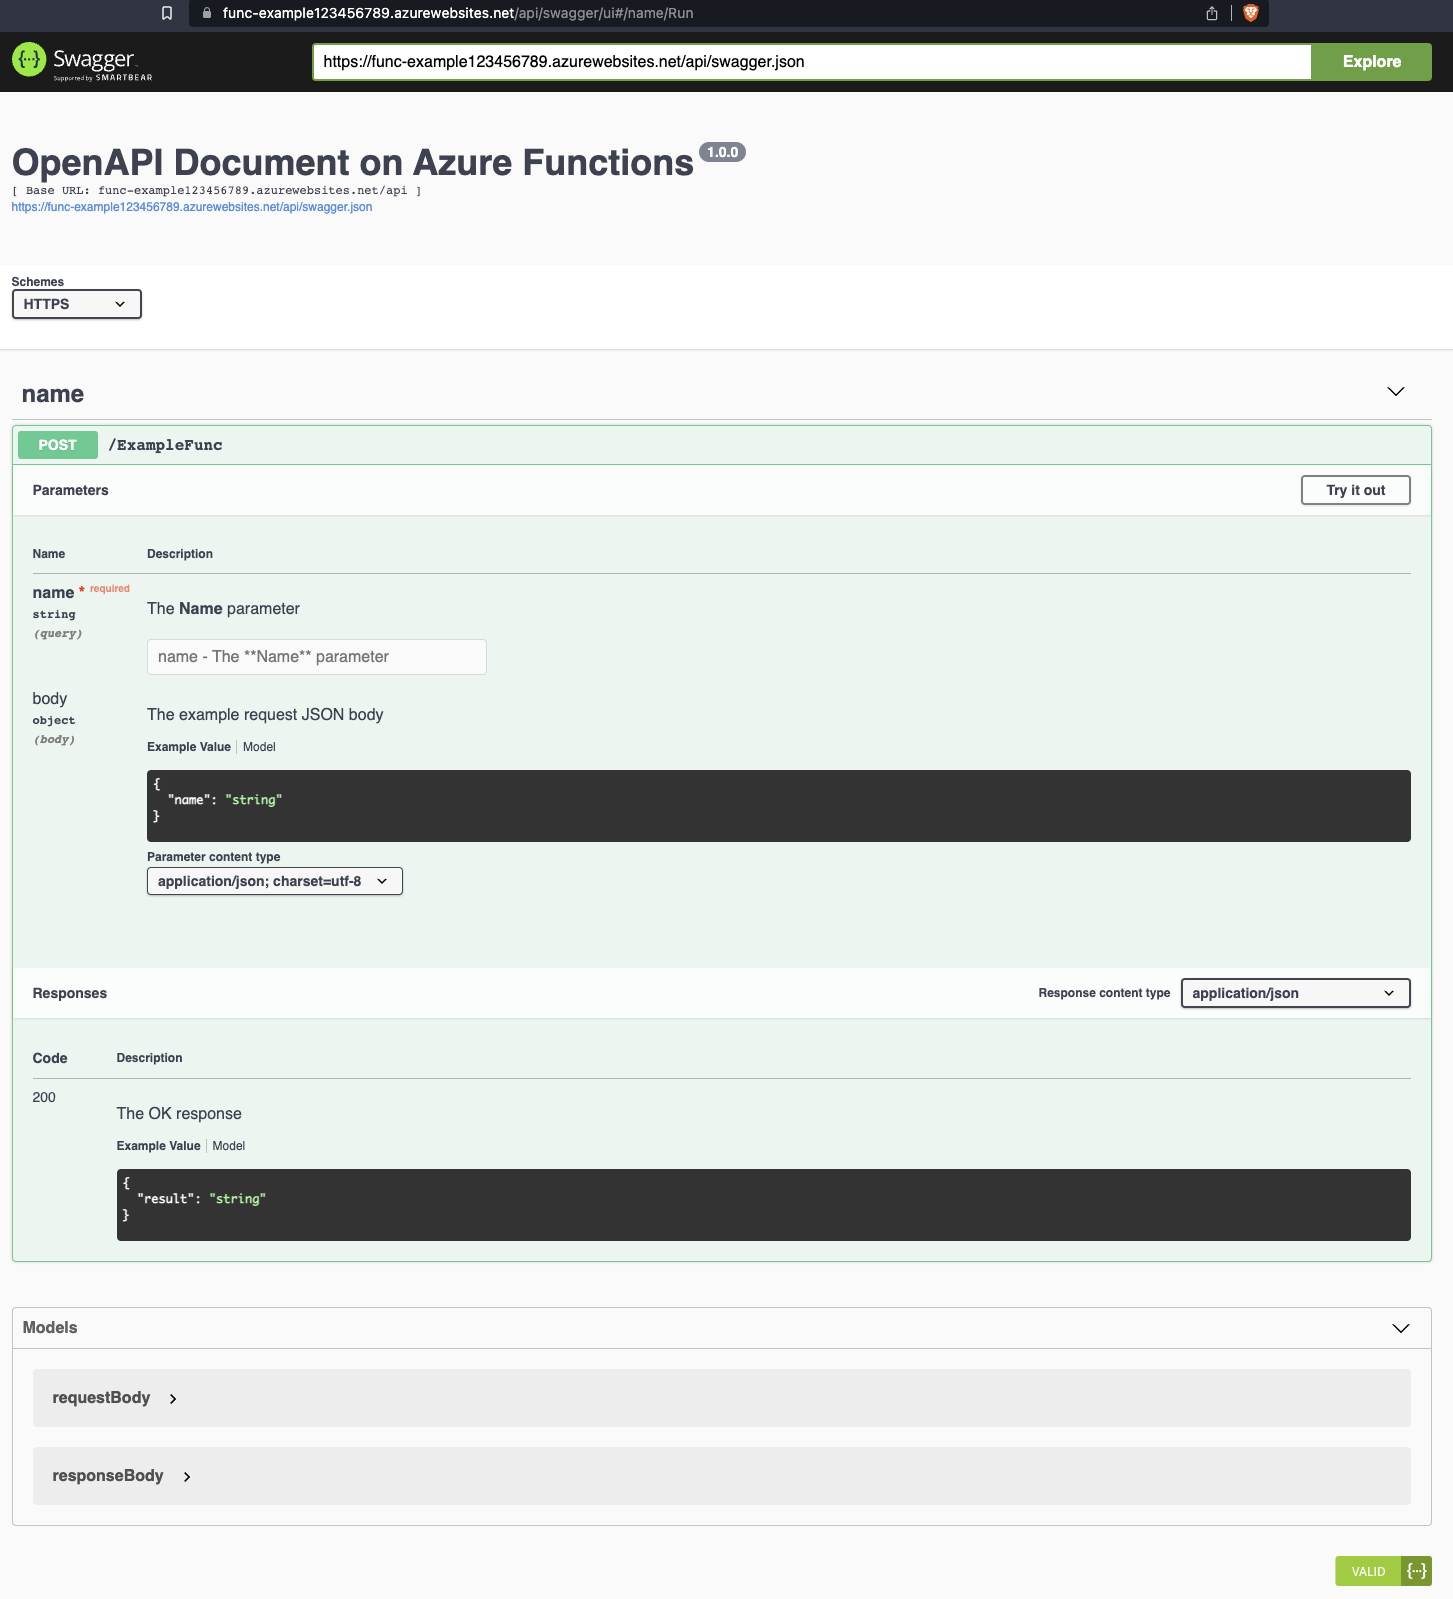
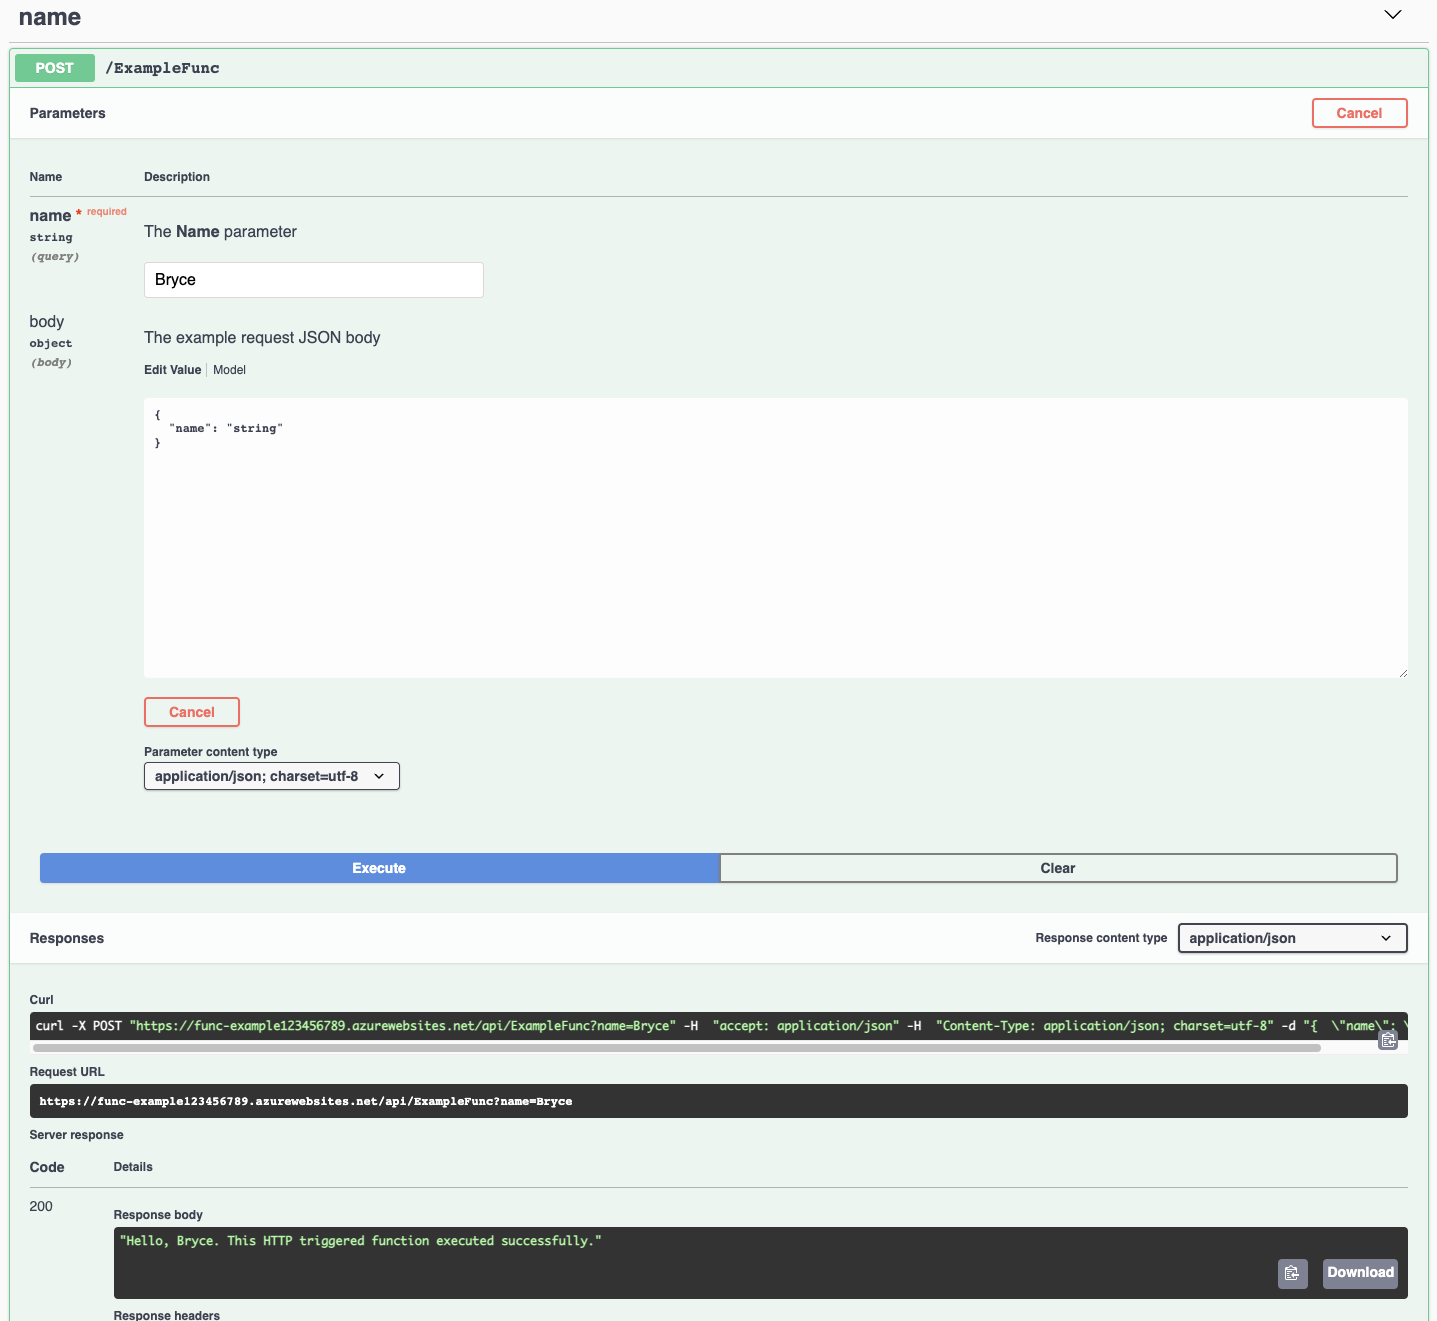
As you might be able to see, there is a parameter available to be filled in which is grayed out by default. To enable it, click on the Try it out button on the rightside. You can now fill in your name and click on the blue Execute button to make a request to your API. A response should return stating: Hello, {Name}. This HTTP triggered function executed successfully.
With it working correctly, we are ready for the next instalment of this series!
What's next?
Next week will be the last instalment of this series, I will show how to embed this API in a custom connector and use it within Azure Logic Apps. See you next week!

