Previously
In my previous blog I wrote about how to create an Azure Function with all requirements to be used in a Custom Connector for Azure Logic Apps. In this alst enstalment of the blogs series, I will go through the creation of a Custom Logic Apps connector step-by-step. So without further ado, let's start!
Creating the connector
Go to the Azure Portal and sign-in with an account with contributor access. Go to a resourcegroup you like to use, in my case I re-used the resourcegroup that was automaticly created in the previous blog when creating the Azure Function from VS Code.
Click on + Create a resource and search the marketplace for the logic apps custom connector, type it in full else it might not show up in the results for some reason. When you find it, select and start the creation process.
During the process you will be asked to provide a proper name and region, as you might be used to. All other options are irrelevantfor this example.
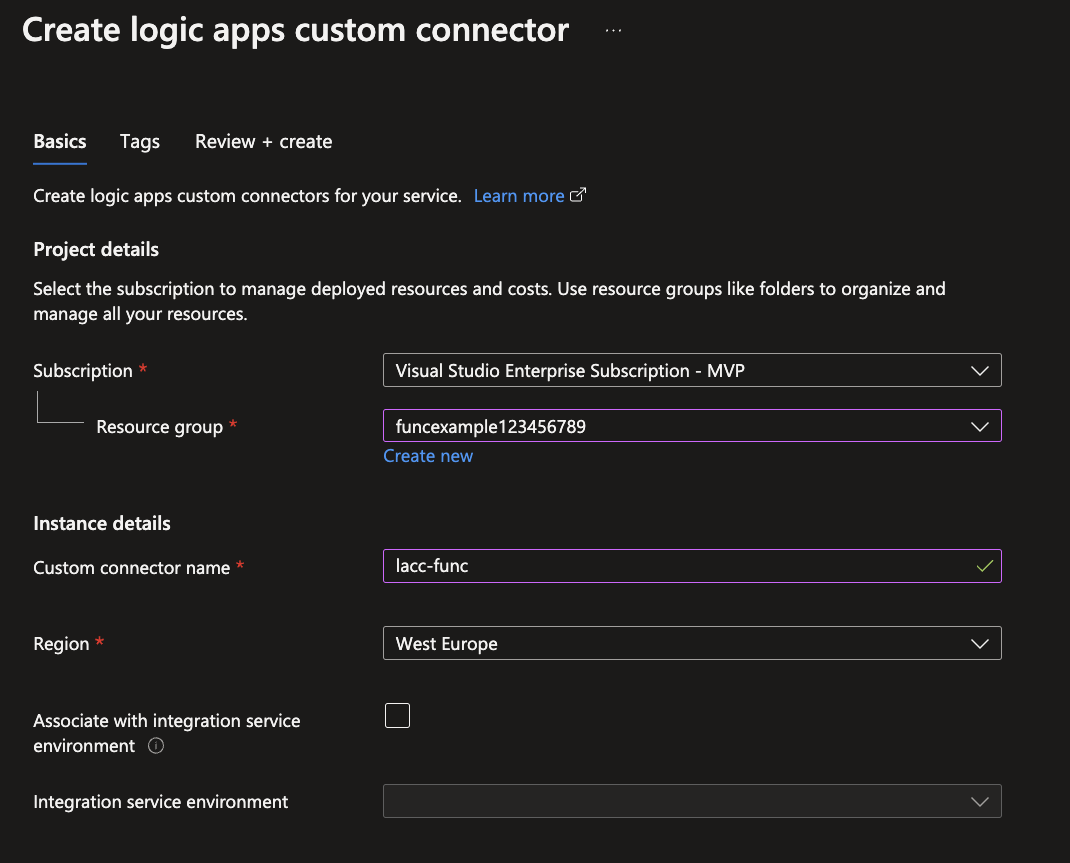
After the creation, click on go to resource or select it from your resourcegroup. It doesn't show much options and explains to just click on the Edit button, which we will do.

Entering the custom connector, you will be asked to provide an API endpoint, since the previous created Azure Function is a RESTful API, select REST. By default the connector will ask for an OpenAPI URL, for which the following can be used if you followed the previous blog: https://YOURFUNCTIONNAME.azurewebsites.net/api/swagger.json
\
\
After you added the URL, click on import.
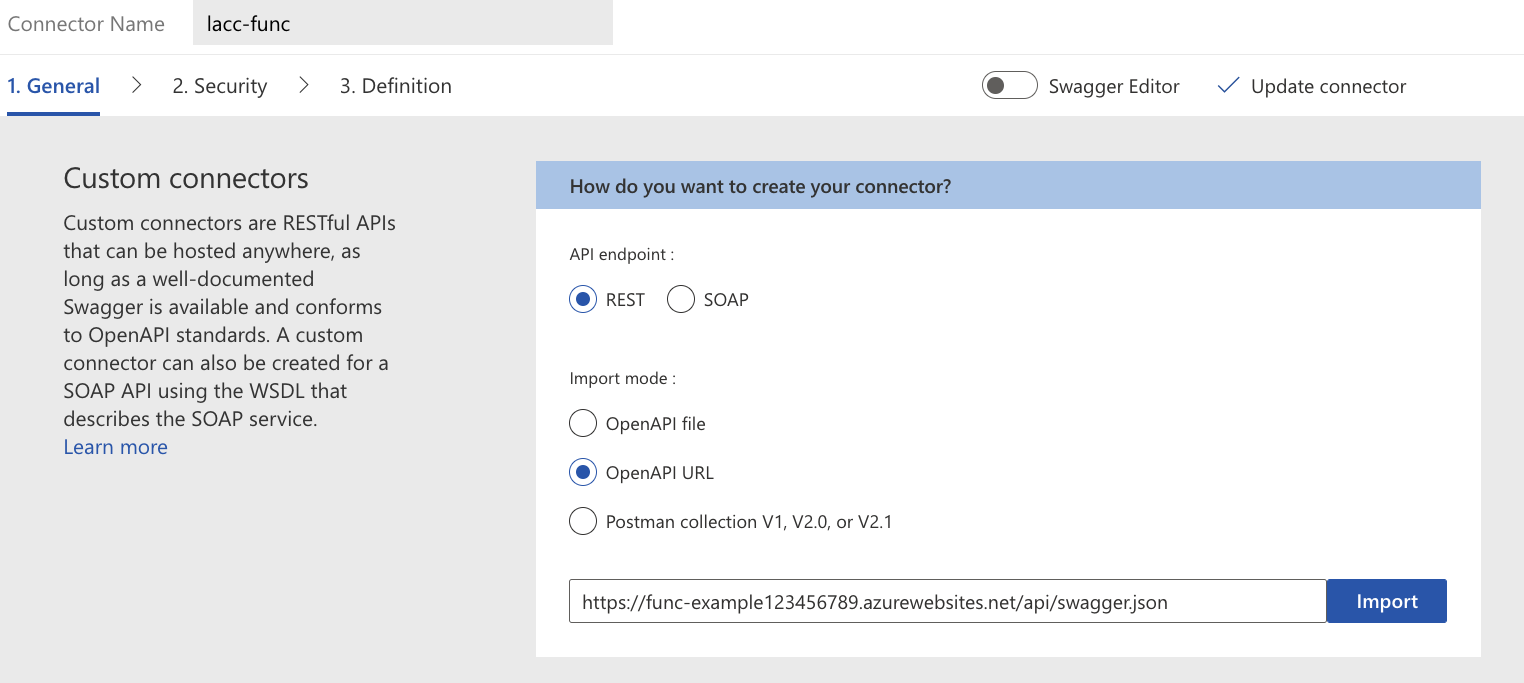
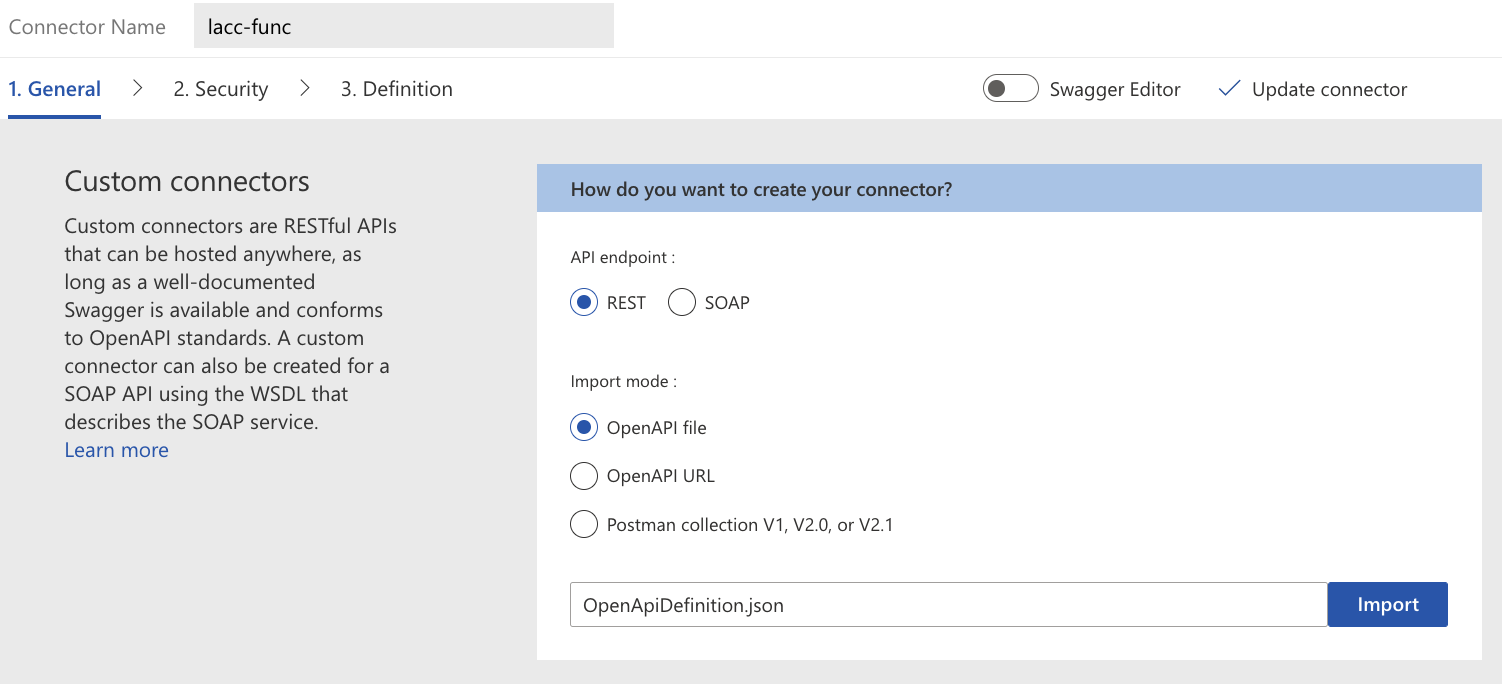
It is possible it will give an error, sometimes custom connectors can't read a JSON file straight out of an API. If it does give an error like below, select the OpenAPI file option.

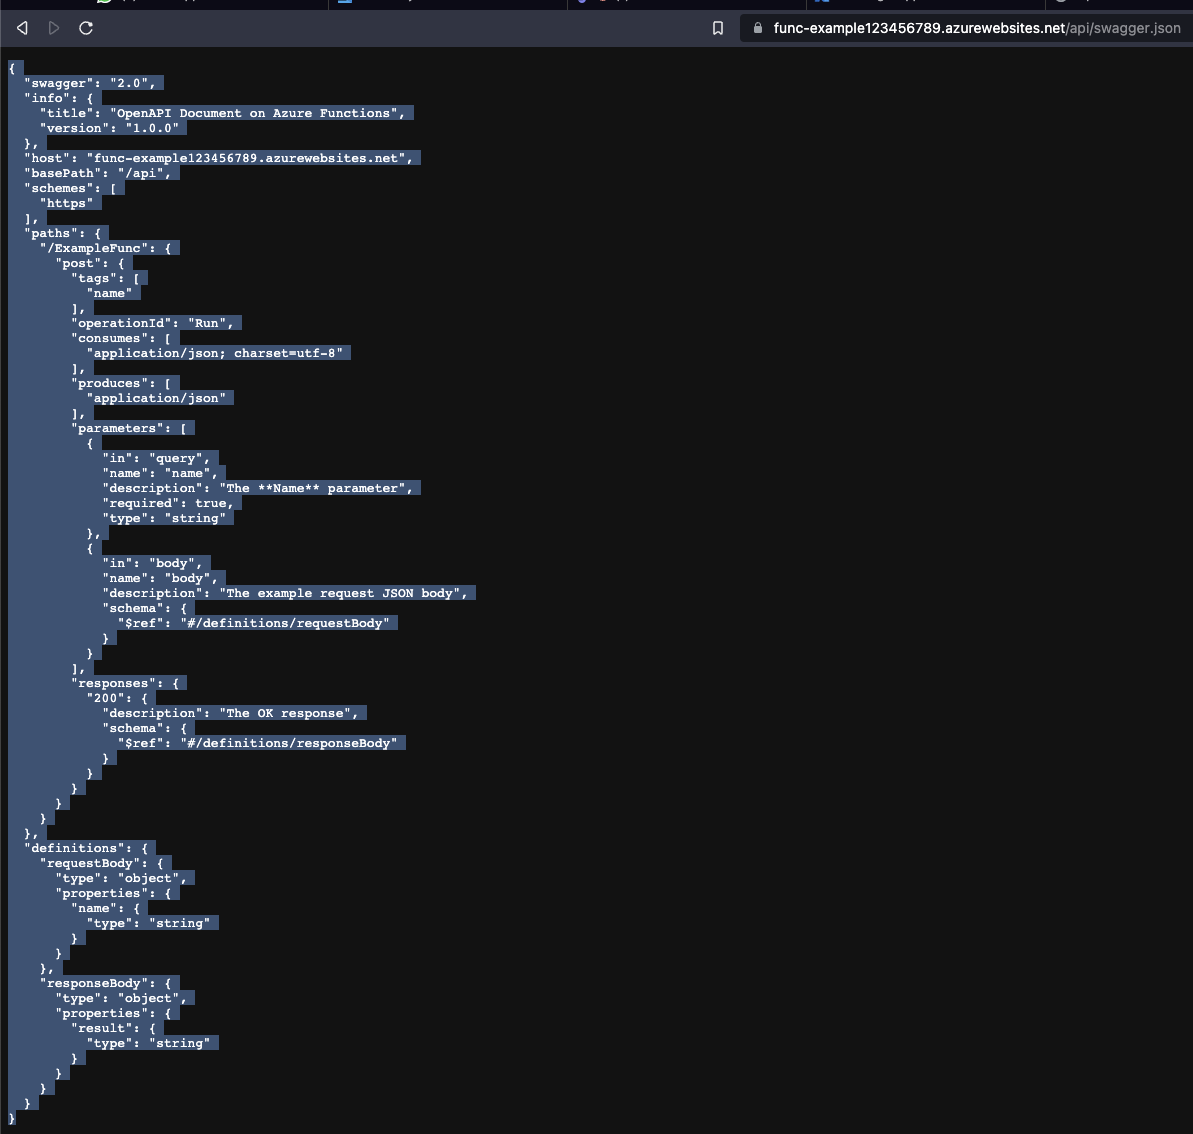
To get the file ourselfs, we need to go to the https://YOURFUNCTIONNAME.azurewebsites.net/api/swagger.json in a new tab, and copy the code to a new JSON file. I called it OpenApiDefinition.JSON, since this is often the new naming of such files.
Added the file from your local device and click on Import again. If no error occured, you will see that some additional information will be filled in by default.
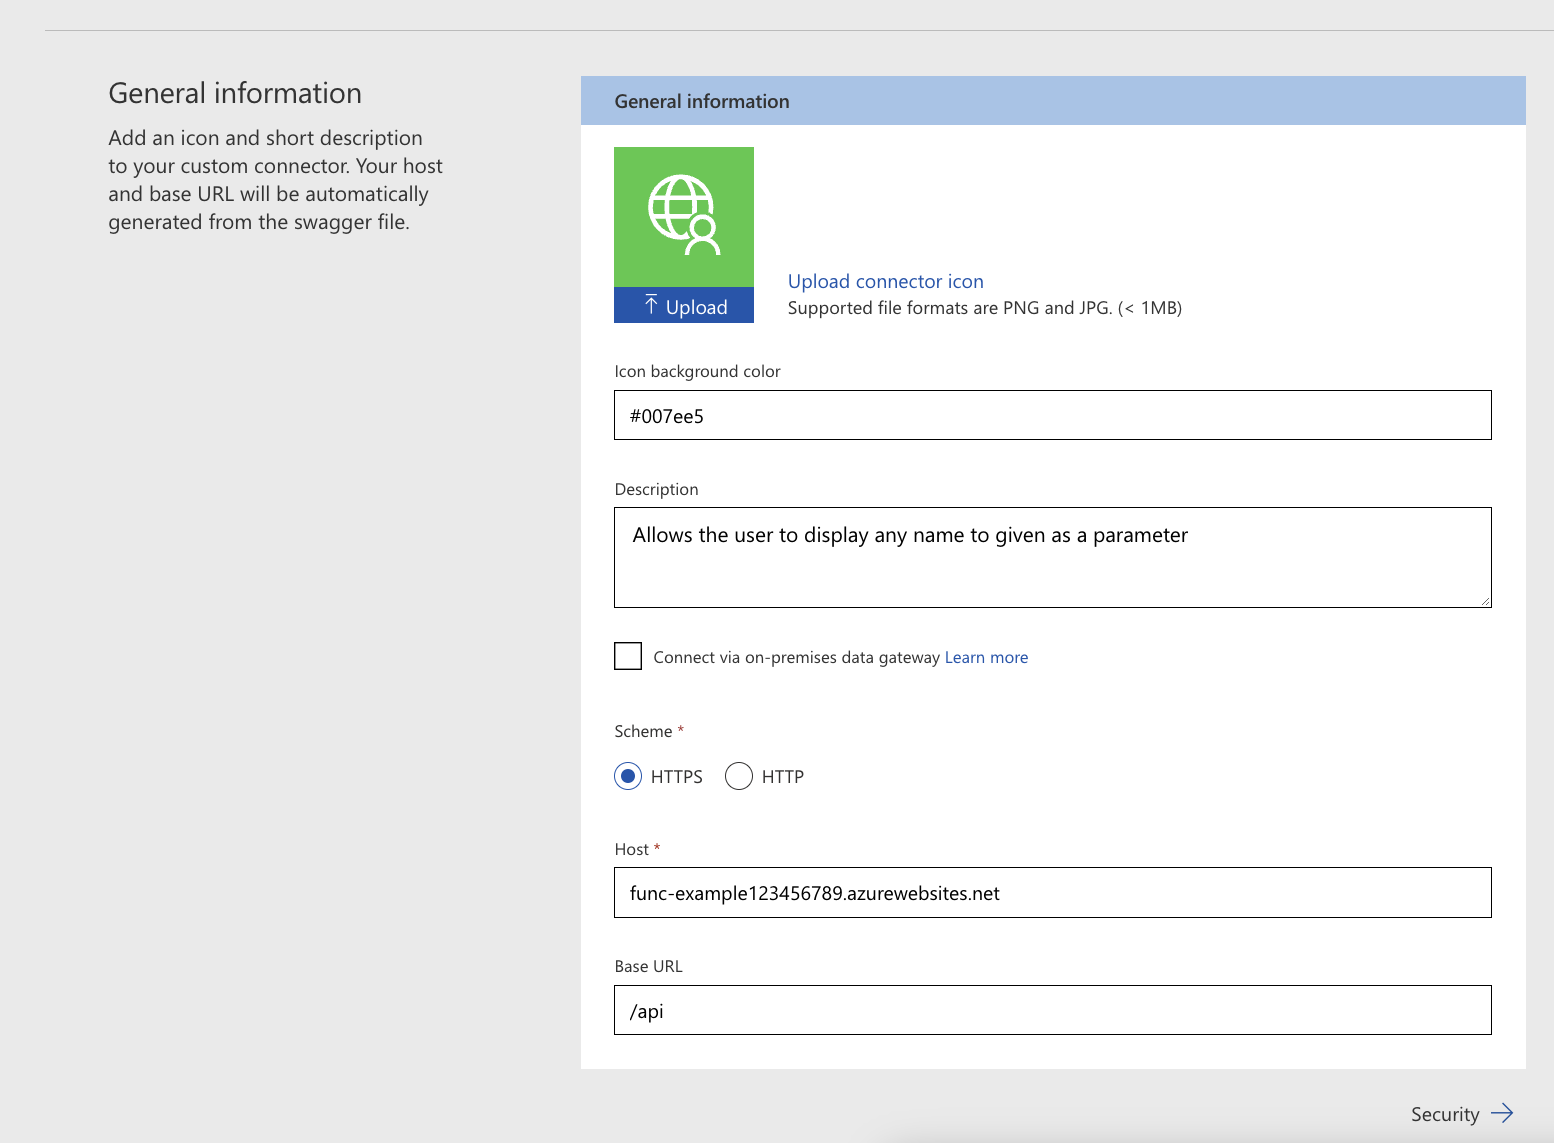
In the next section, you have the option to provide a custom image for the connector itself, as well as a background color if need. It is recommanded to always fill it it so it can default to it if the image can't be loaded or is not present as is in my case. It works with hexa codes like CSS does, pick a nice color and add it.
Furthermore a Description for the connector can be added, this is the general description which is overarching all the APIs that could be inside of it. In our case of the Azure Function it only has one API in it, but often it might have more than one. A good example would be the Office365 connector, it will specify that it contains multiples services, but inside you will descriptions per action and trigger.
\
\
The Host and Base URL will be filled automaticly from the imported file, leave it as it is.
Click on Next to go to the next page in which you will be asked to choose an authentication methode. As we created a Azure Function which was Annoymouse, it doesn't require any authentication and you can choose the No authentication option and continue to the next page.

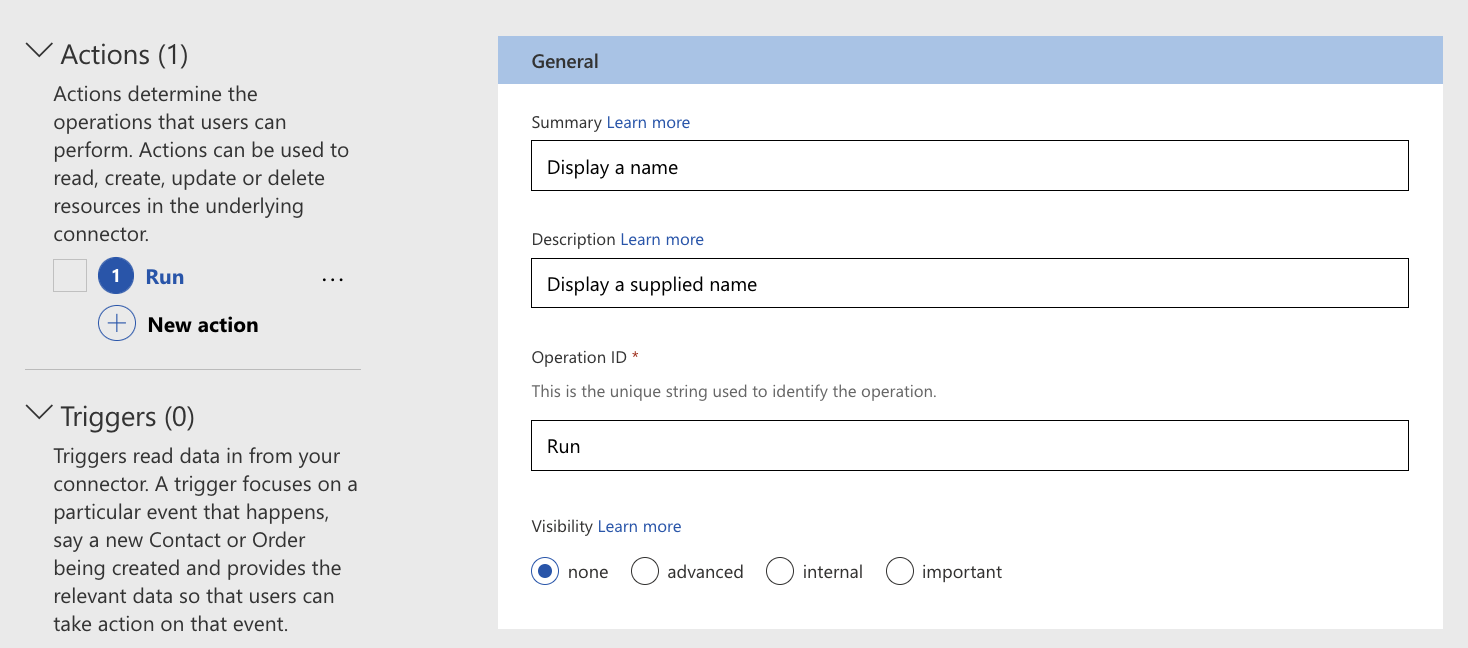
Here you will see all available imported actions and triggers. Per selected action and trigger you are allowed to add a brief Summary and Discription about it. You can change the Visibility of certain actions and triggers, but as we need to visible in our Logic App soon, keep it on none.
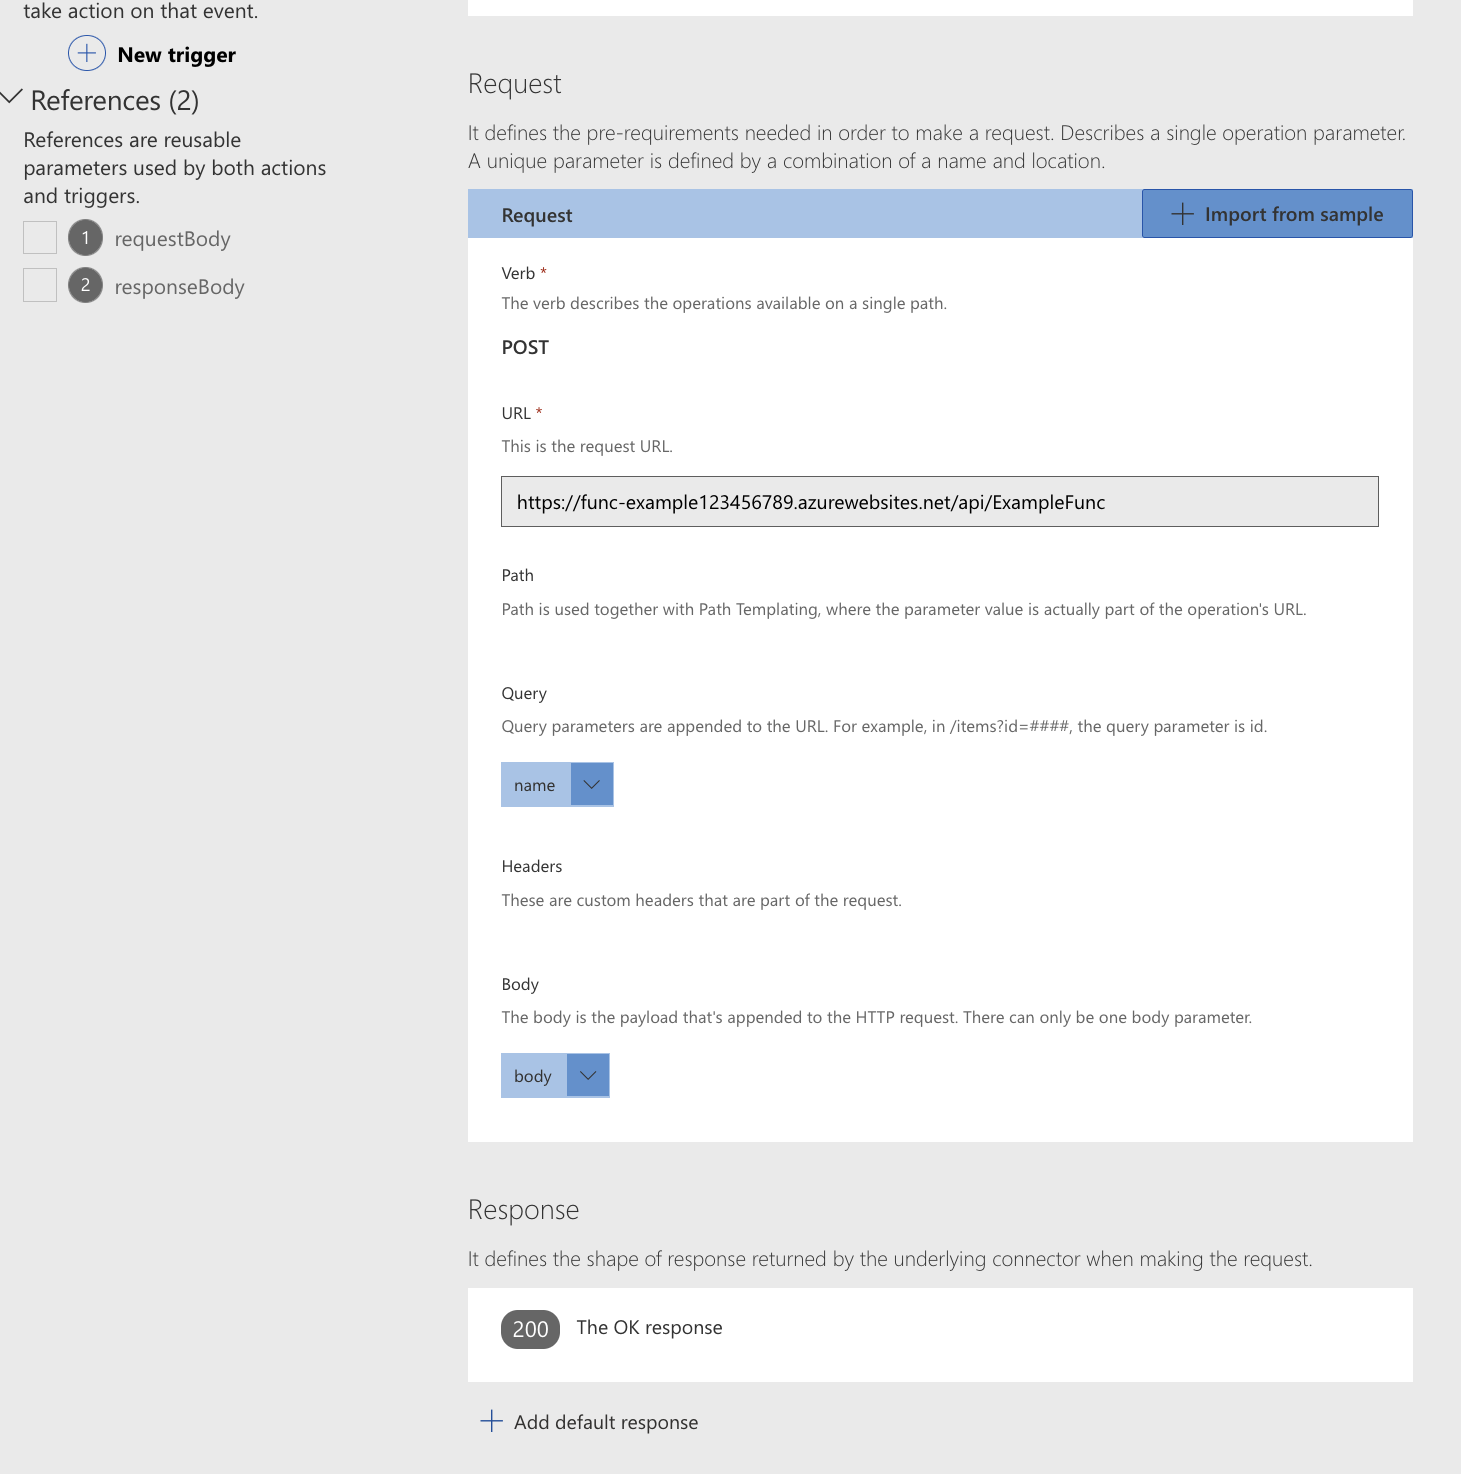
You will also encounter a filled in Request definition, it will state the URL, Path, Query, Headers and Body if present in the OpenAPI/ Swagger file. In this section you could modify it, but for now this is not needed.
Last but not least, you will see if your custom connector with your imported OpenApi definition is verified and ready to use. If it gives a green check mark, you are ready and can hit the Update connector button in the top right corner. If for any reason it would be a red cross, it will give an explenation and often you will have to make changes to the OpenAPI file.

Using it in Logic Apps
With the custom connector created, we can go to a existing Logic App within the same region as the custom connector or create a new one in the same resourcegroup with its default region, eitherway will work.
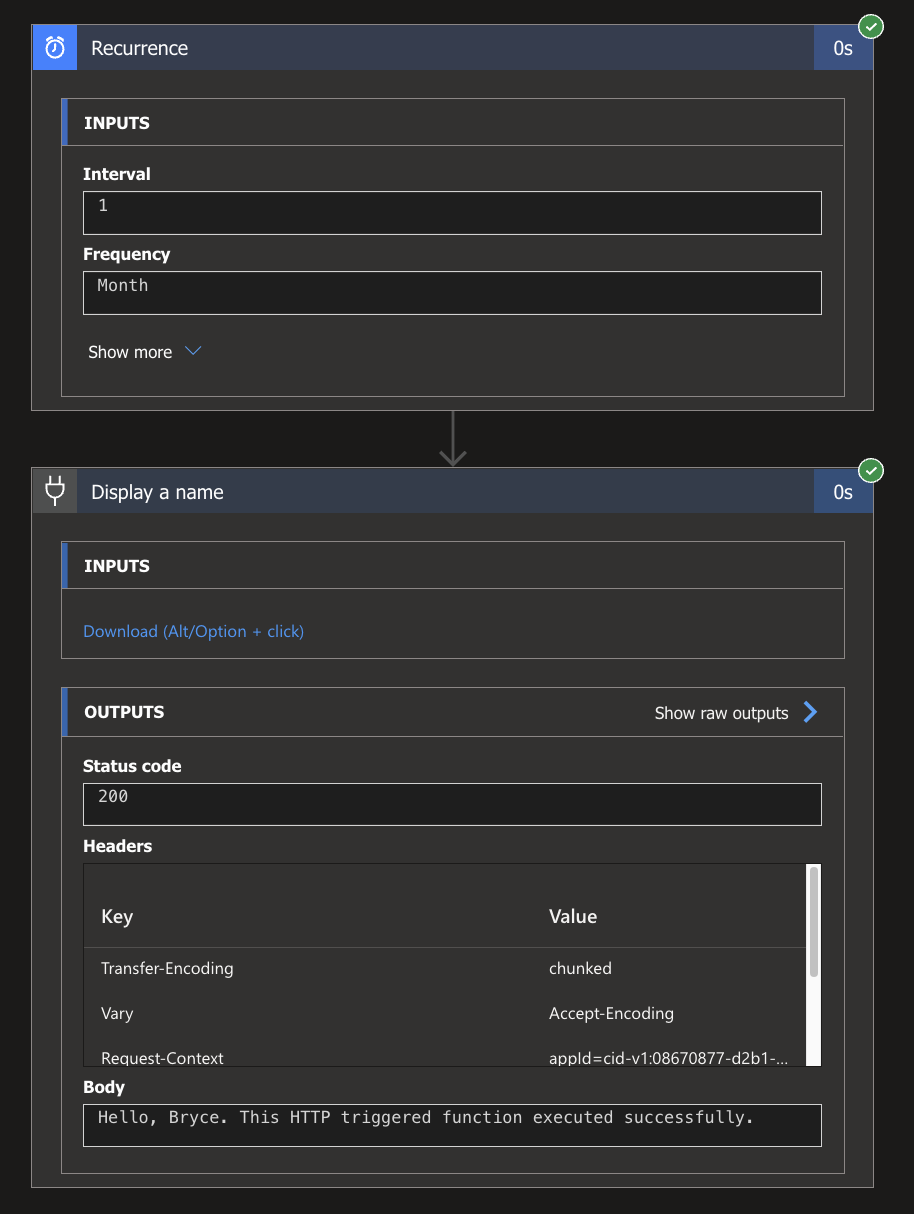
Start with a simple trigger, a Recurrence trigger will always do the job. Click on the + icon to add a new action. In the prompted screen, choose the Custom tab. If your custom connector is in the same region as your Logic App it will appear in the list. Select the action it presents, in my case: Display a name.
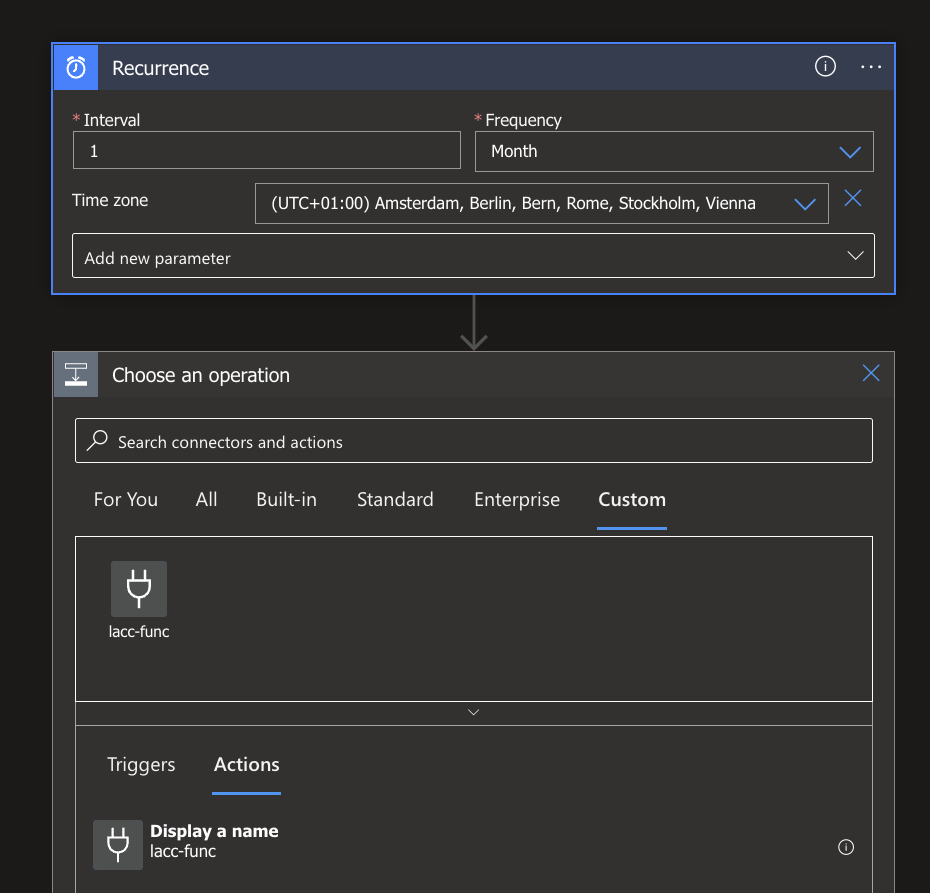
The action will require you to provide a value, just like the API did in the previous blog when visiting the OpenAPI/ Swagger page. Add a name or other value and click on save on the left top side.

Run your Logic App and enjoy the results! With this the blog series is concluded and you have all the knowhow to create the services and configure it accordingly.
What's next?
In recent use of Automation tasks within the Azure Portal itself, I noticed something very familair! More on that subject next week, stay tuned!

