

Previously
In my previous blog I showed how to secure your Azure Logic Apps on a netwerk level, specificly on IP address ranges. As mentioned in the blog, there are multiple steps to securing your Azure Logic Apps and one of those steps also include Azure AD based OAuth, which will be shown in todays blog.
Let’s have a look at how to use Azure AD OAuth and how this can be applied to Azure Logic Apps.
Configuring the Authorization
To enable Azure AD OAuth for your Logic Apps we must go to the Azure Portal and to the Logic App itself, which can be called via a HTTP request. In the blade navigate to the Authorization tab underneath the Settings category.
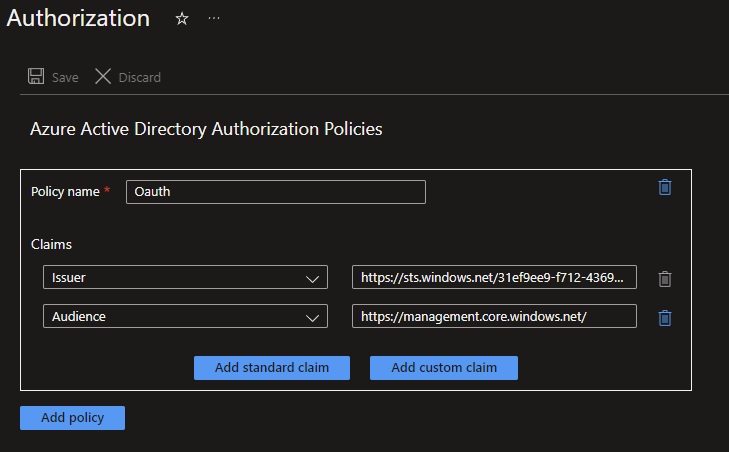
Here you will be asked to create a Azure Active Directory Authorization Policy, do so by clicking on Add policy. You wil be asked to give the policy a name and you will be able to add several claims. These claims are attributes that the Logic App will check on when Authorizing any requests.
Add the following two claims:
- Issuer : https://sts.windows.net/YOUR_TENANT_ID
- Audience : https://management.core.windows.net/
NOTE: Instead of the https://sts.windows.net/ this could also be https://login.microsoftonline.com/, this is something that needs to be checked with an access token generated from your AD.
When done, hit the Save button and your Logic App is set! But wait, there is more to know!
Your Logic App might now be enabled for Azure AD OAuth, but how will your Authorize when calling your Logic App Endpoint?
To do so, you will need a Bearer token or Access token as it is often called. These tokens can be generated via various means and the most common ways are as followed:
- Aquire an personal Access Token
- Create an App Registration in Azure AD.
Lets first check for for personal Access Tokens. These can easly be generated when using either the Azure CLI or Powershell.
Here are some code examples on how to achieve this in both languages:
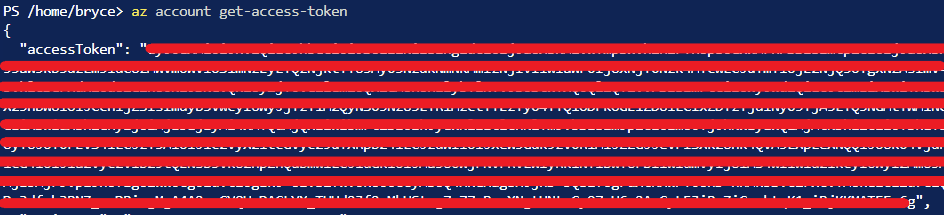
Azure CLI
az login --Tenant YOUR_TENANT
az account get-access-token
PowerShell
Connect-AzAccount -Tenant YOUR_TENANT
Get-AzAccessToken
NOTE: YOUR_TENANT is the name of your Tenant this often follows the following format: {OrganizationName}.onmicrosoft.com
Results should be something like this:
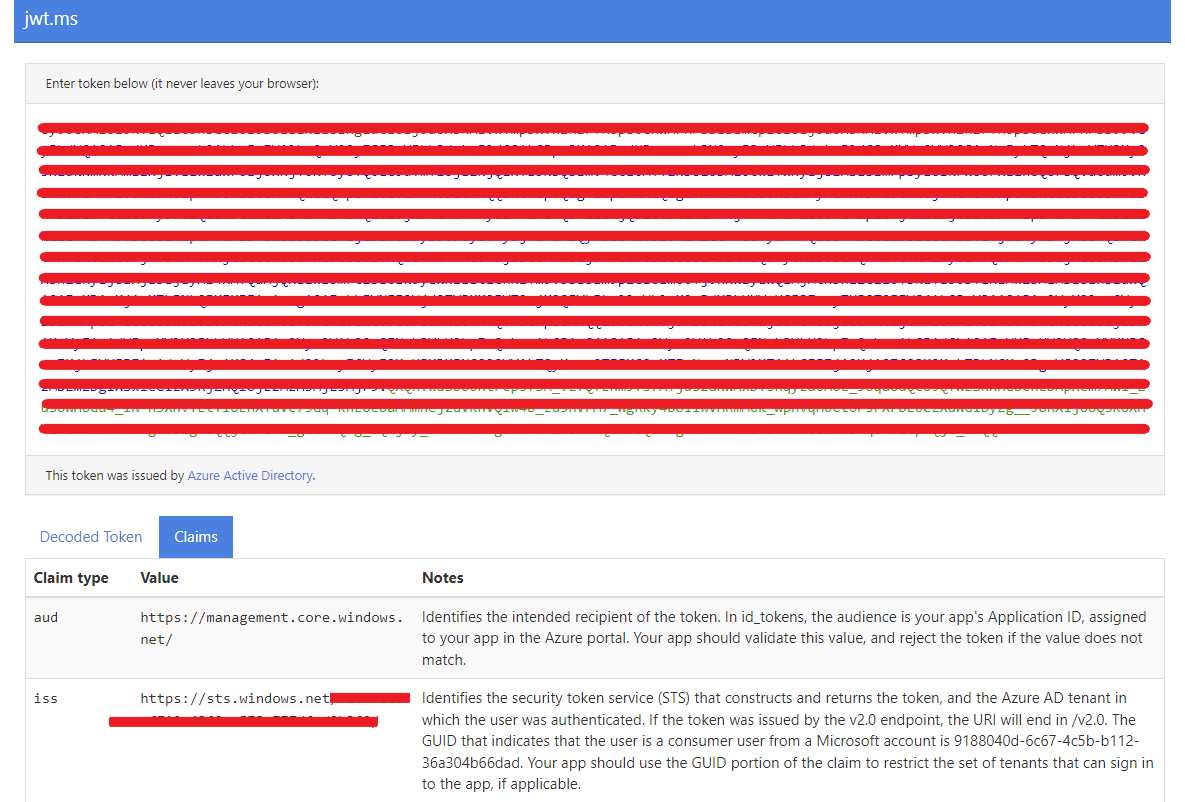
Now the Access token is quite a long string and since it has been encoded you can't see the Issuer and Audience in it. But luckily we can decode it with sites likes jwt.ms. If you paste your Access token on the site, it will decode it and show you the detailed information. Here you can also see if the Issuer needs to be https://sts.windows.net/ or https://login.microsoftonline.com/ for your Logic App Policy.
If it would be the https://login.microsoftonline.com/ instead of the https://sts.windows.net/ and you would make a call to your Logic Apps Endpoint, the following error would be shown:

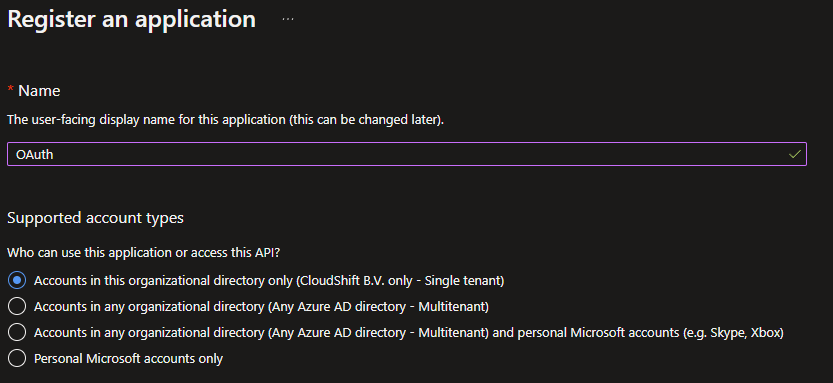
To create an App registration we can go back to the Azure Portal again. Navigate in the blade to Azure Active Directory and go to the App registrations tab underneath the Manage Category.
Continue by clicking on + New registration and give your registration a proper name, choose your Account type and add a Redirect URL, for example http://localhost.
When the App registration has been created go to the Certificates & secrets tab underneath the Manage Category. Click on + New client Secret and configure it accordingly.
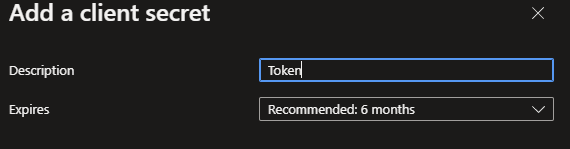
Now that your Secret has been created, you will need its value in the next steps, so copy it and save it for later.

Go back the Overview of your App registration and also copy the ClientID and TenantID.
With this information we will be able to make a HTTP request towards Azure AD to request a token. An example of such a HTTP request would look as followed:
Bash
curl -X POST -H 'Content-Type: application/x-www-form-urlencoded' \
https://login.microsoftonline.com/<tenant-id>/oauth2/v2.0/token \
-d 'client_id=<client-id>' \
-d 'scope=2ff814a6-3304-4ab8-85cb-cd0e6f879c1d%2F.default' \
-d 'code=<authorization-code>' \
-d 'redirect_uri=<redirect-uri>' \
-d 'grant_type=authorization_code' \
-d 'state=<state>'
You will need to replace some of the attributes with values your copied earlier:
<tenant-id>, Your Tenant ID.<client-id>, Client ID of your App registation.<authorization-code>, Secret you created.<redirect-uri>, Redirect URL you configured in your App Registration. This URL must be in URL-encoded (percent-endoded) format. For example,http://localhostishttp%3A%2F%2Flocalhost.<state>, A random nummer or some encoded data to check integrity. This can be12345.
When making the HTTP Request accordingly, a Access Token will be returned similar to the personal token. The process to determine the audience etc, will remain the same as explained before.
Now that we have a Access Token to work with, lets look at the final steps!
Shared Access Signature
By default Azure Logic Apps uses a Shared Access Signature (SAS) within its Endpoint URL, which is used to authenticate to the Azure Logic App.
When copying your Endpoint URL from your Logic App, you will see that it ends similar to the following example: sp=%2Ftriggers%2Fmanual%2Frun&sv=1.0&sig=3Y3Jb0fm41ekjbOfQG9ALOQ_6lBmBh4aVNXS3Q2HLV4.
The URL will contain the following 3 attributes to build up the Shared Access Signature:
- sp: Permissions
- sv: SAS version
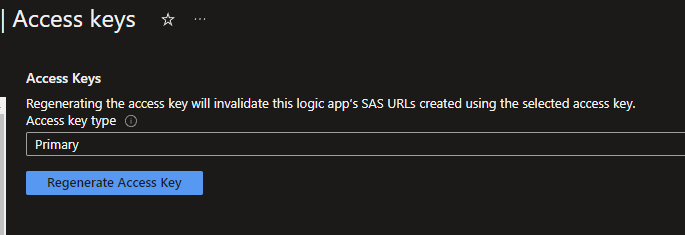
- sig: SignatureSAS is already a security methode that is inplace by default, but not always seen as the most secure. If you copy the URL from the Logic App itself, you will have all the attributes already to authenticate to it. The signature can always be resetted when needed via the Azure portal by going to the Access keys tab underneath the Settings category within your Logic App itself.
But if we can use Azure AD OAuth, this will be the preffered option. But in order to use the Azure AD OAuth we need to disable the SAS. This can easly be done by leaving out the SAS part in the Endpoints URL. If you don't do this or forget it, this will result in an error.

Now that we have an Token to work with and know that SAS needs to be disabled, we can continue to look at the Logic App itself!
The Logic App
To demonstrate I created two Azure Logic Apps. One will act as the Endpoint for which the Azure AD OAuth Policy has been configured and the other will make the HTTP request with the Access Token.
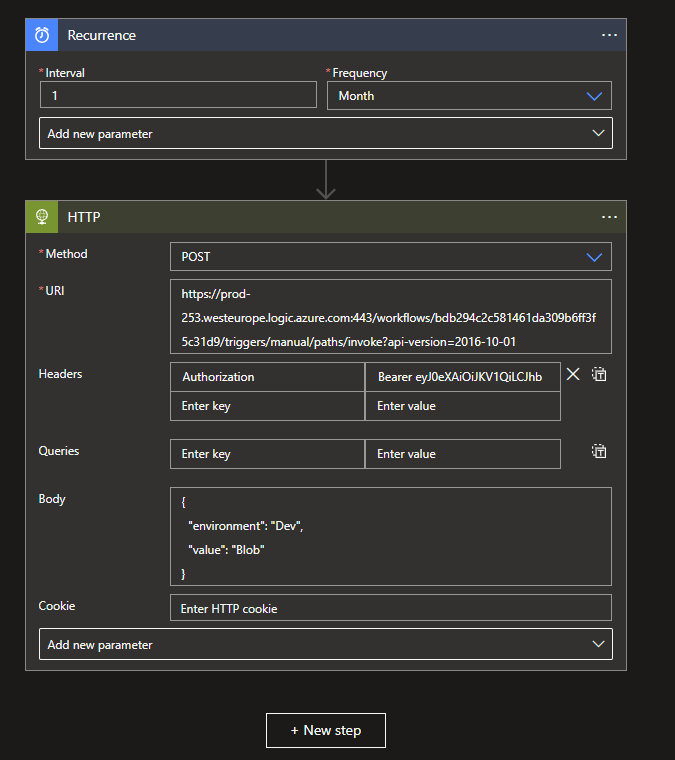
Requesting Logic App
In most important part of the Logic App is the HTTP connector with the HTTP request action. As stated before it is important to that the Logic App URI doesn't contain the SAS attributes and that the request is of Methode POST.
Within the Headers you will need to add Authorization and as value Bearer followed by your Access Token.
Logic App Endpoint
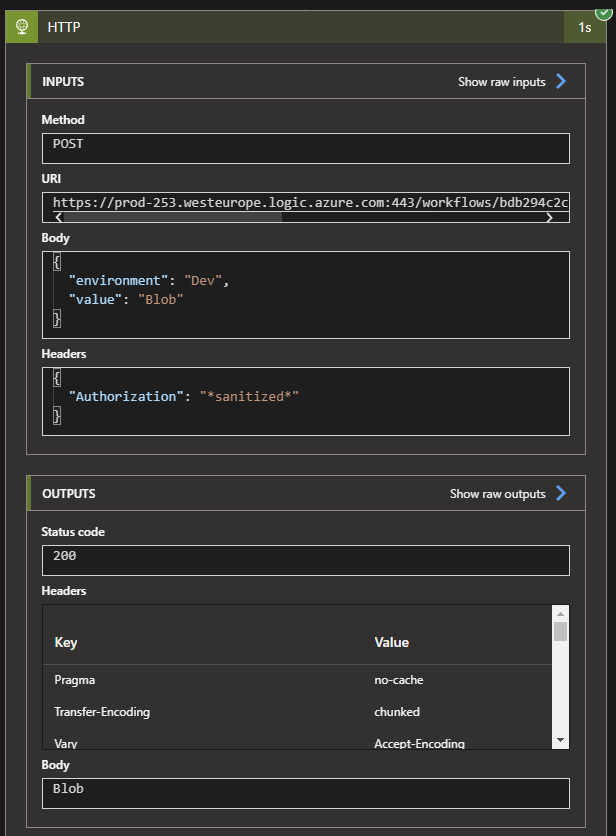
The Logic App that functions as a Endpoint in this example nothing more than a dummy. It will return the value that was specified within the Body of the request.

If everything was configured correctly, your request will work accordingly!
What's next?
Next week will be a busy week with multiple client events as well as the 7th Dutch MCT Community event! Stay tuned for next weeks blog!