

Getting started
APIs come in all kinds of varieties nowadays, with REST, SOAP and Graph based APIs as well as created and hosted in different ways for example in containers, Azure Functions and Logic Apps! With Logic Apps it is possible to create APIs as well and to see how to create a simple one, you can read one of my previous blogs.
But what to do when you got multiple APIs for a single or multiple products and need to manage them in an easy way? The answer is Azure API Management!
Azure API Management, also known as the APIM is a Integration service to protect and abstract your APIs.It allows you to bundle them into products, convert xml to json and visa versa, limit API calls, add additional security for inbound and outbound and even monetise your APIs when used in combination with an external payment provider.
A lot is possible within the APIM and it deserves blogs on its own. For this blog I will show how to add an Logic App based API to the APIM. So without further ado, let’s start!
Importing your Logic App
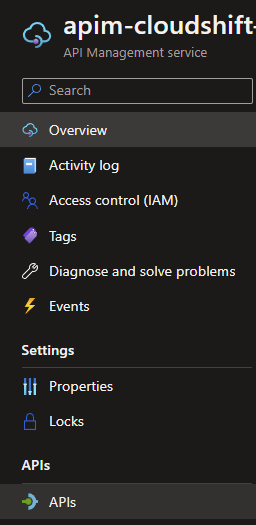
Make your way to the Azure Portal, login and navigate to your API Management instance.
NOTE: if you don’t have one yet, you can create a Pay-as-you-go APIM from the marketplace for free, including a free 1 million API calls.
From the Overview, click on the APIs tab underneath the APIs category.
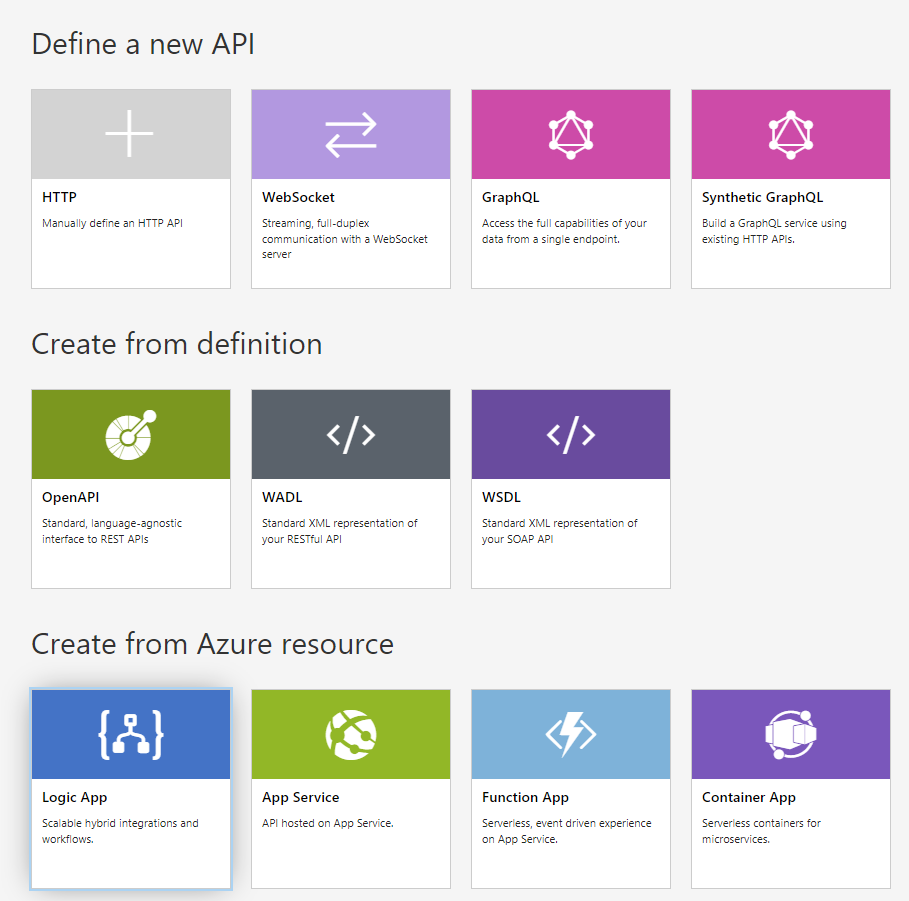
Multiple options for different kind of APIs will appear, choose the Logic App option and click it.
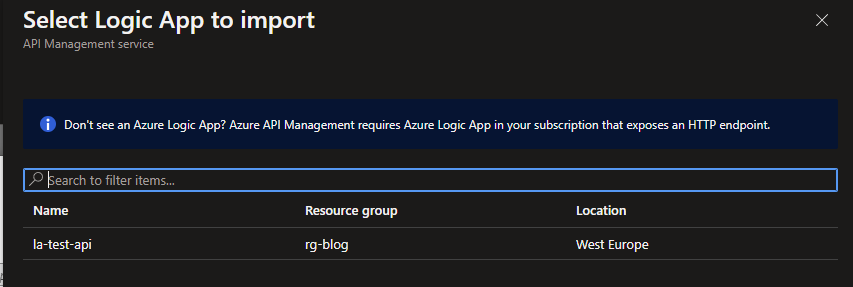
You will now be asked to specify all kinds of information about the Logic App you want to connect. Click on Browse to go through your Logic Apps.

Choose the one you want to add and click on Select.
NOTE: If you don’t see your Logic App in the list, it might be that it doesn’t use the HTTP trigger and with that isn’t recognised as an API.
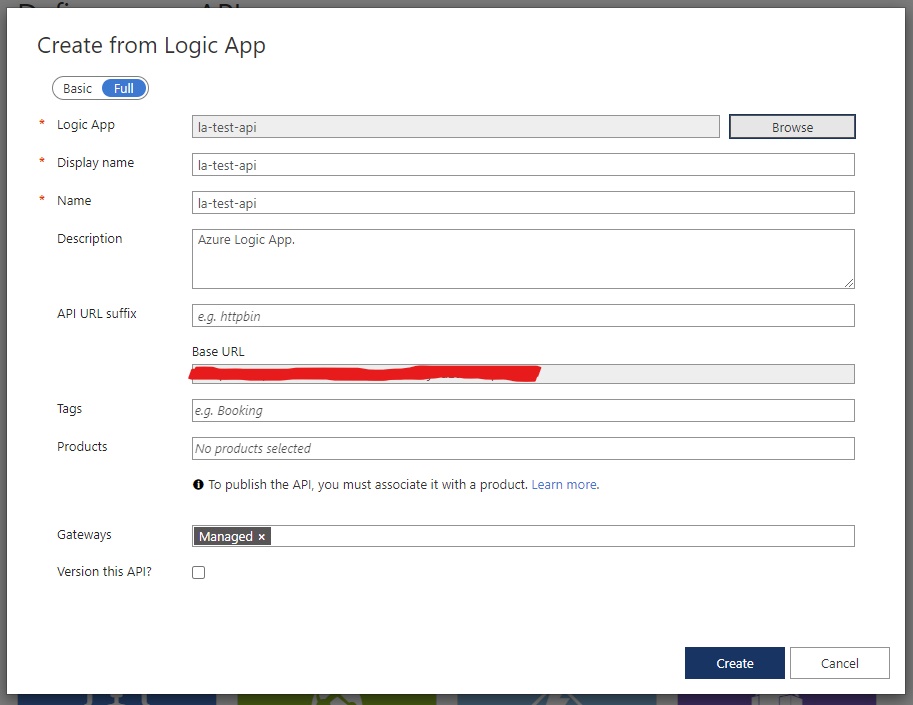
The majority of all the information will be autofilled, you can add additional details to your description etc, if needed. Click on Create to finish adding your Logic App.
After this your Logic App is ready to be consumed from API Management! Of course there are a lot of things that could still be configured, but I might touch on that subject in a later blog. Now let's test our Logic App API!

Testing your Logic App
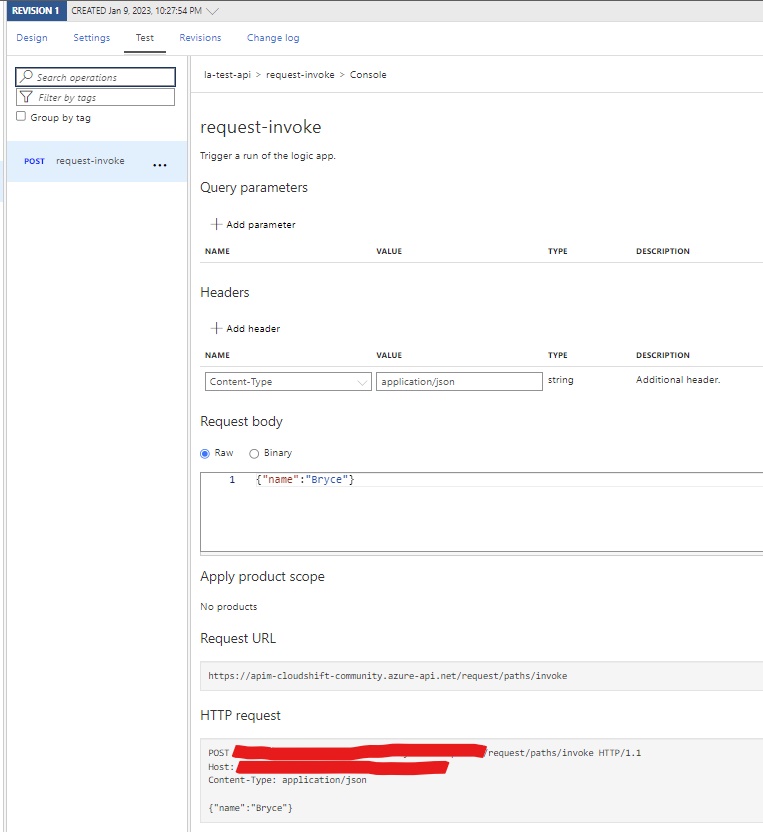
To test the Logic App in the API Management we would need to select it in the navigation bar on the left. When you clicked on it, all the operations will become visible. By default Logic Apps can only have 1 kind of Method like GET, POST, etc. Click on the operation that is available for your Logic App and go to the Test Tab on the topside navigation.
You should be able to see a predefined Request body, in which you might want to add your custom values for testing and in my case I specified my name. When filled in accordingly, click on Send to test your Logic App API.
Depending on the workflow of your Logic App it might take a while or is finished in matter of seconds and a result message/ status code should be visible. In the case of my Logic App, it just introduced myself.

What's next?
It have been a while to dive back in something more Data related. A lot have been about automation with Logic Apps, but recently I used a nice new feature within VS Code that is interesting to share!