Previously
In my blog from last week I talked about what Azure Static Web Apps is, what you can do with it, and its capabilities and options. But I also discussed how to create one, which settings are needed and how to setup the CI/CD for it. All code examples are present if you haven't followed it yet!
Let's continue the series and see how we can write our first blog with Azure DevOps GIT as backend!
Blogging, but how?
At the moment your Azure Static Web App has been created it will generate an URL like:
https://nice-mushroom-0d1e40103.1.azurestaticapps.net/. This will look different for all Static Apps but will always contain the .azurestaticapps.net domain. This can be modified in itself by adding a custom domain, but that is a topic for later on.
If you have deployed the Sveltekit with Netlify CMS example from theblog from last week you will be able to add /admin/ behind your sites URL to get to the backend. NOTE: The trailing / is important. If you don't add this you will not be able to reach the Content Manager.
If you go to your URL with /admin/ behind it, you should now see the same as below.

This means you Netlify CMS is active, but in this case I want to login with my Azure Active Directory (AAD) account, so let's see how we can do that.
App registration in AAD
We now have to register our static web app and configure it accordingly so we can also use the Azure DevOps GIT as a backend.
Go to Azure and select Azure Active Directory from the blade. Click on App registrations and continue by clicking on +New Registration.
Add a proper name for your App registration, keep it single tenant and for the Redirect use Web and add the URL to your Content Manager (example: https://nice-mushroom-0d1e40103.1.azurestaticapps.net/admin/). If you are done, hit Register.
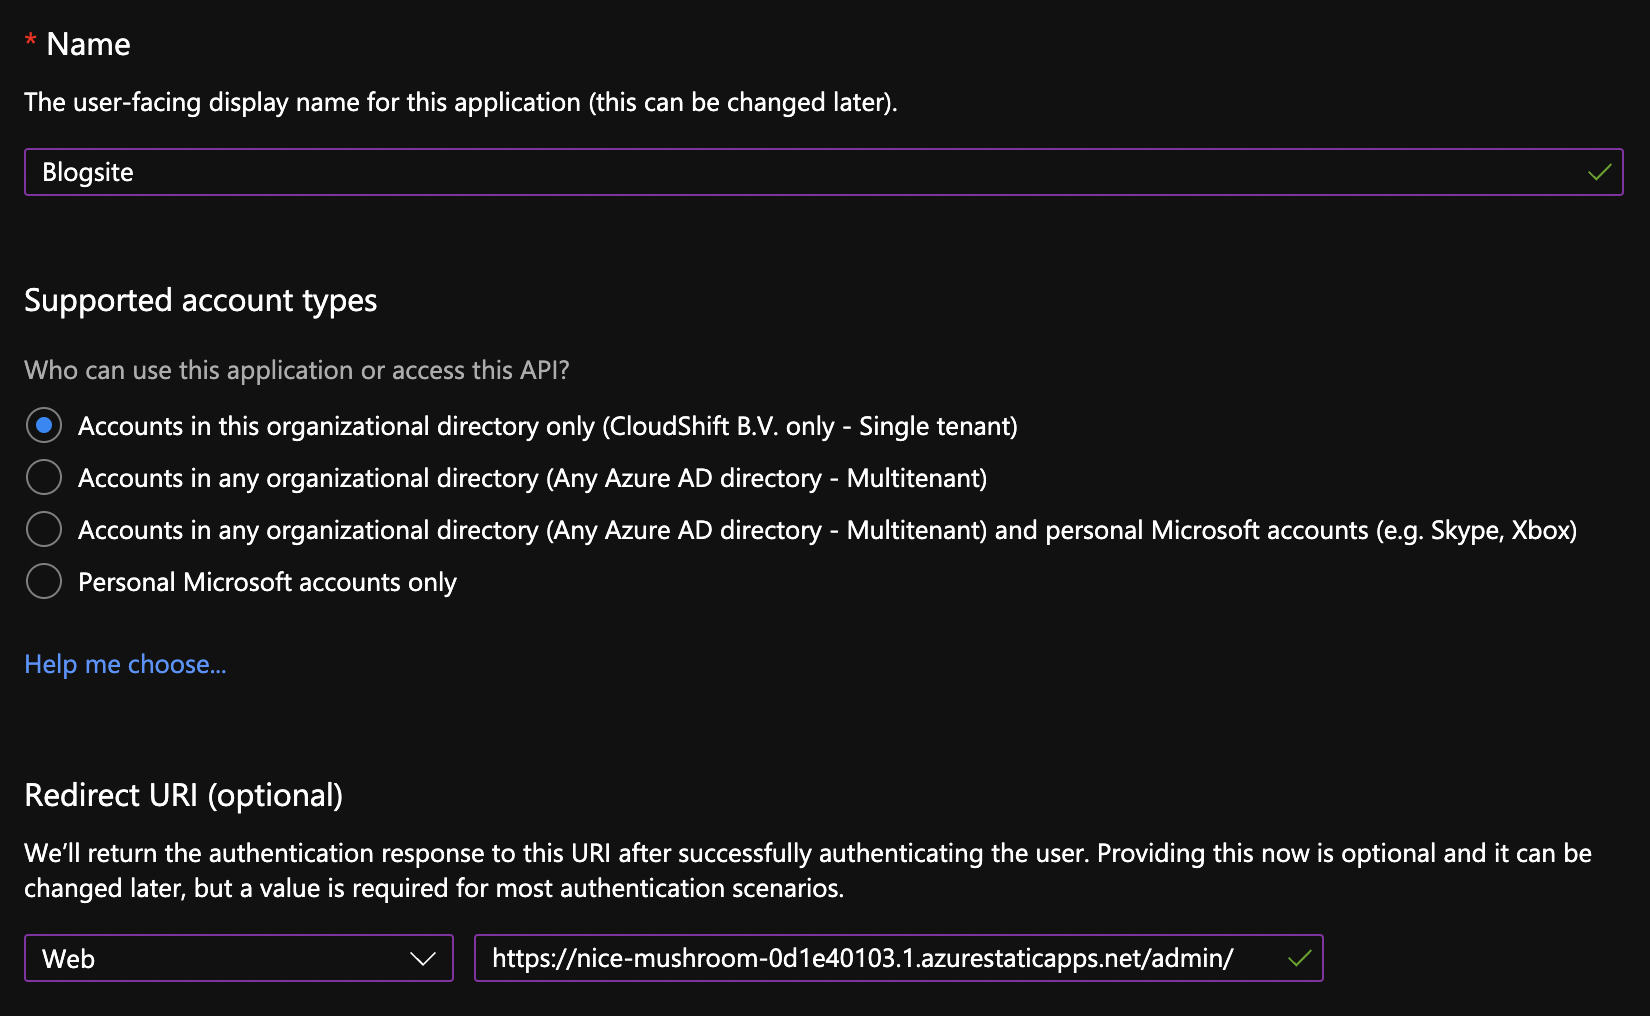
After creation you will automatically land on the main menu of the registered app. Go to the Authentication Tab and check the box at Access tokens (used for implicit flows) underneath Implicit grant and hybrid flows. Don't forget to hit Save after to finalize your change.

Continue by going to the API permissions Tab and click on + Add a permission. Choose the Azure DevOps option.
Keep it on Delegated permissions and check the box at User impersonation. Hit Add permission when you're done.
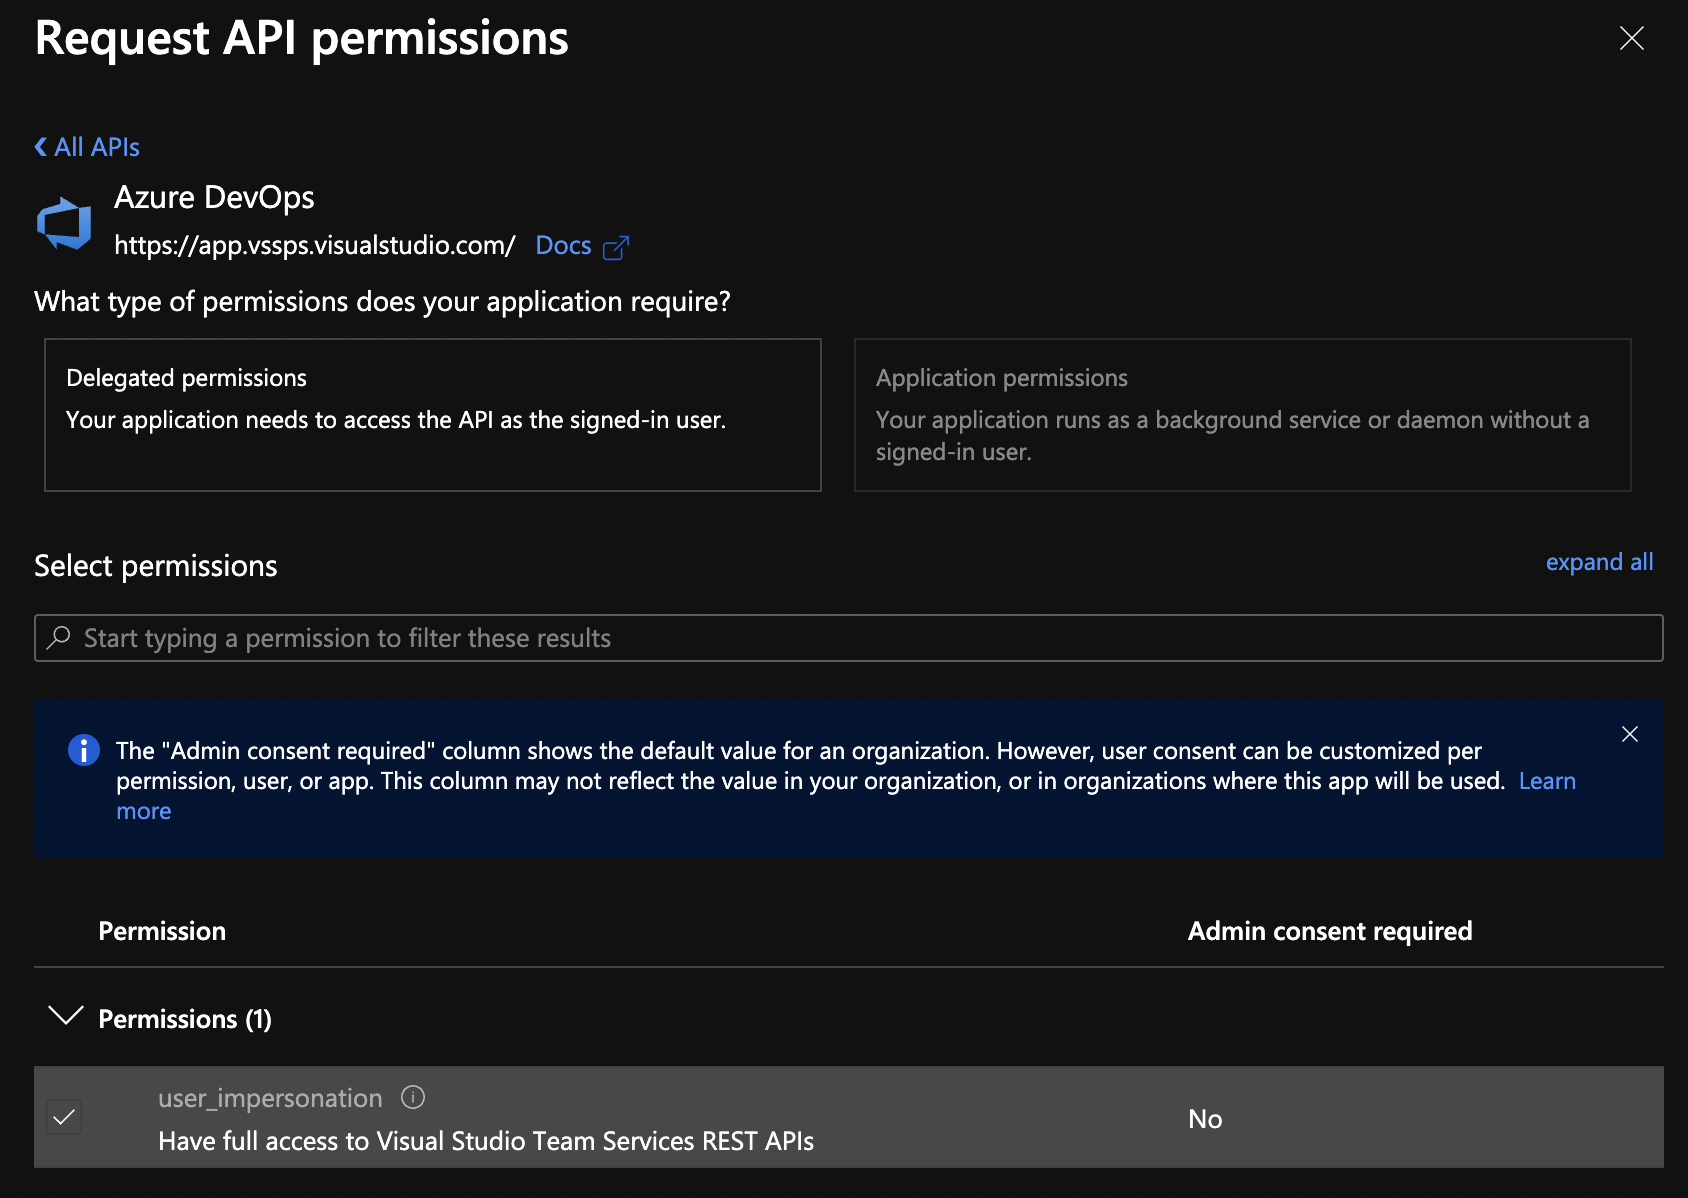
The last step for the App registration configuration is to grant admin consent for your APIs. This can be done by clicking on the Grant admin consent for {your organisation} and agreeing with the pop-up by clicking on Yes.

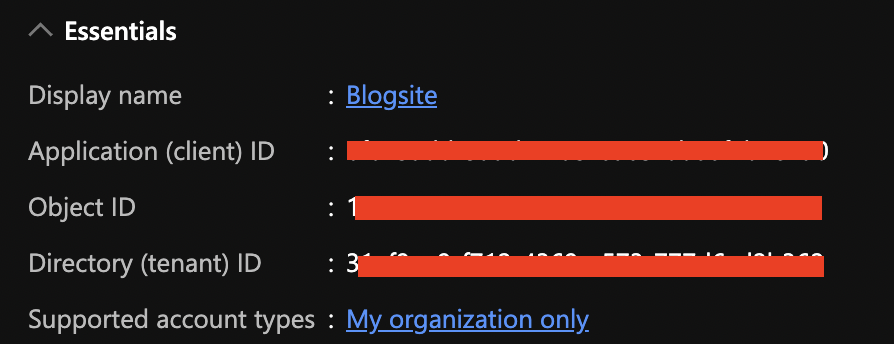
Your App registration has now been properly configured. Now go to the Overview Tab, where you will see your Application (client) ID and Directory (tenant) ID. These two are needed for the next steps.
Changing the Netlify files in Azure DevOps GIT
Go to your repo in Azure DevOps and open the Static and Admin Folder. You will find a Config.yml file which needs to be changed.
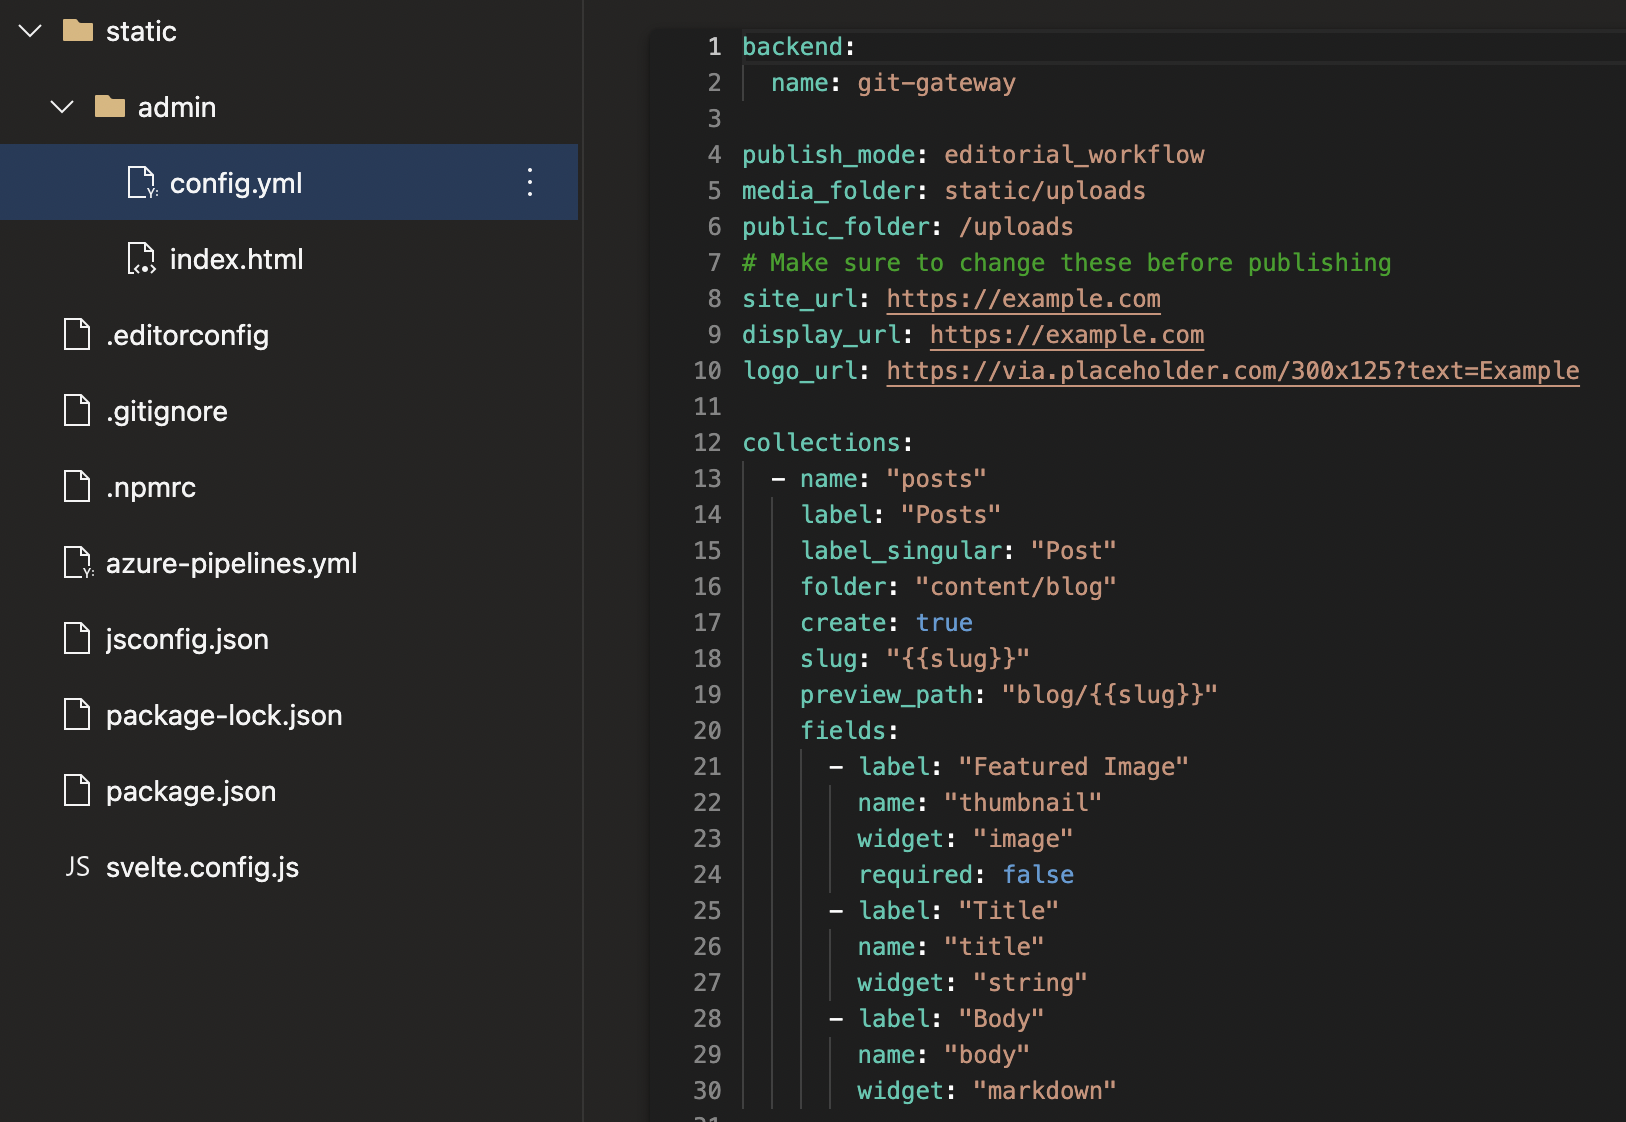
As of now the backend reverses to git-gateway, which is for local building. Since this needs to be Azure, it needs to be changed accordingly.
Change the name: to Azure. Add repo: with the following structure organisationName/projectName/repoName. Add tenant_id: Paste your TentantID here. add app_id: Paste your AppID here.
Change the site_url: and display_url: with your static web app URL. Click on Commit to save your changes.
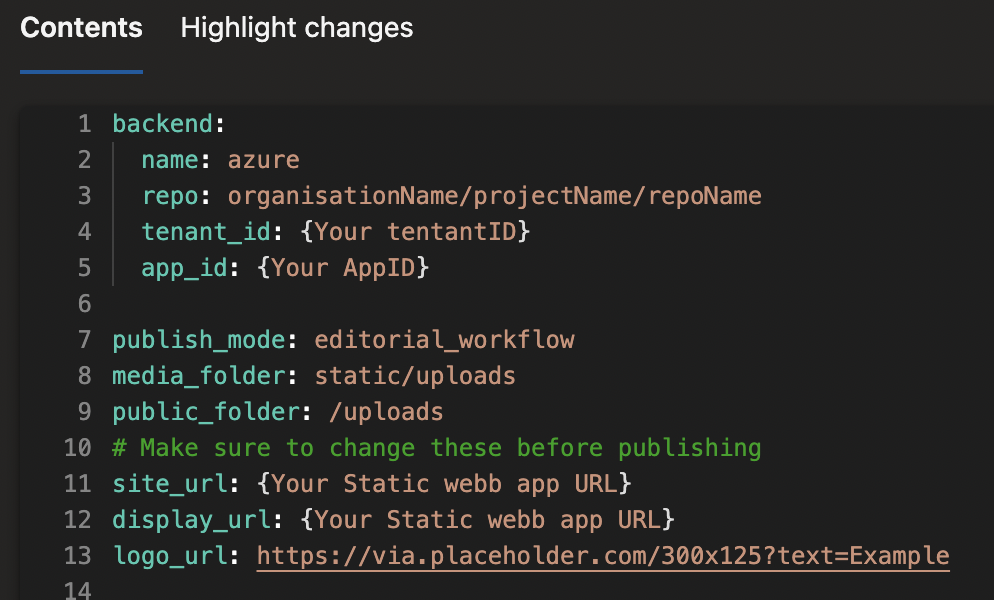
If you followed the steps in the previous blogs, the CI/CD will now run and build your site again.

Your first blog
After the deployment is complete, go to your Static Web App URL with the /admin/ behind it. You will now see the login methode changed to Azure!
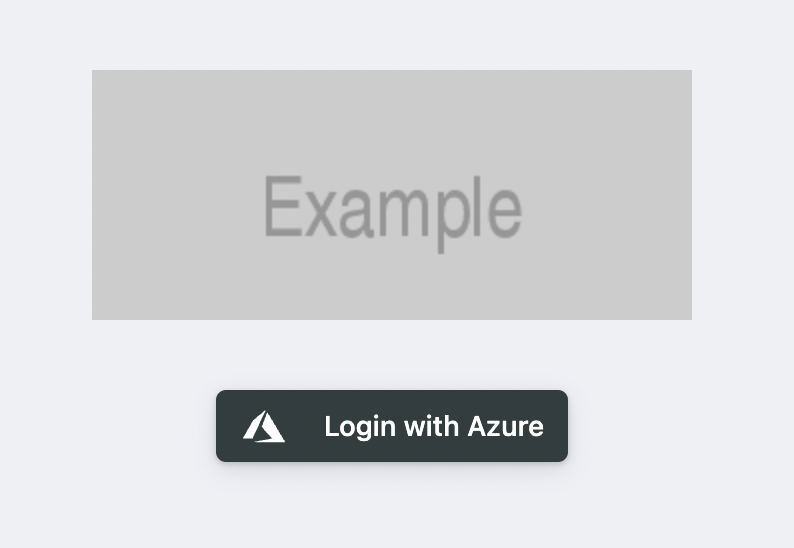
Login with your Active Directory Account. After logging in you will land on the main menu of the CMS.

Click on New Post to write your first blog. Write something, which can be done in Rich text (what you normally would see in HTML) or in Markdown. You can add images or URL's as well, and much more, but this is just a basic layout. If you want to know more check here.
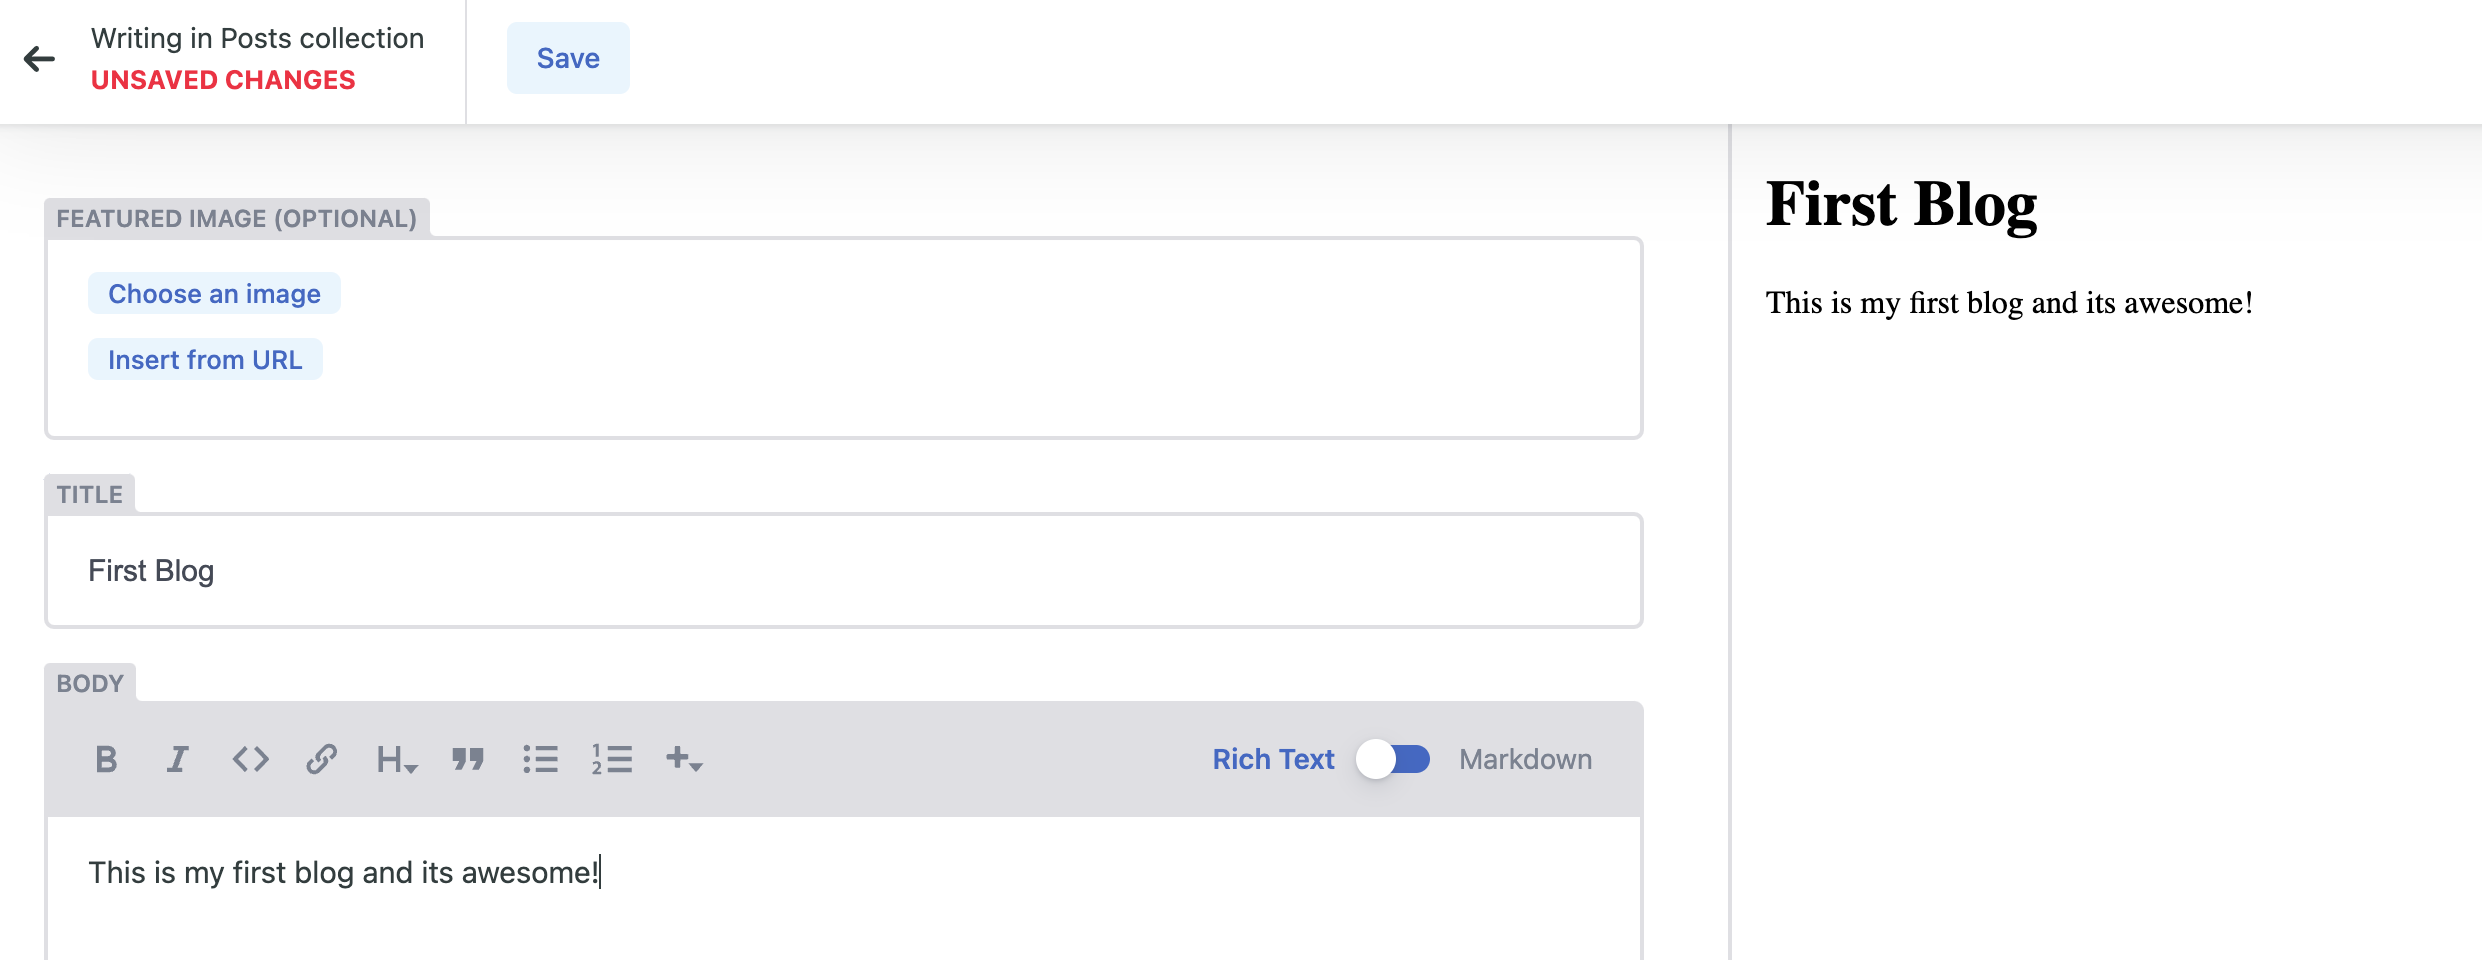
When you are done writing, hit Save. A new menu bar wil appear and to do it properly, change the status from Draft to Ready and Hit Publish continue by Publish Now.

If you look in your Azure DevOps GIT repo, you will see a new blog file being added in the Content folder and your CI/CD will be running again to rebuild your website.
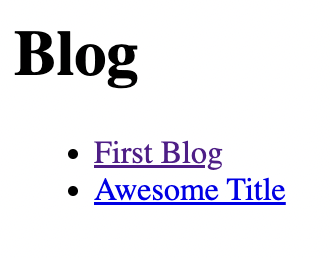
When it's done building, your new blog will be online!
What's next?
We have now covered the creation of an Azure Static Web App, The Azure DevOps GIT Repo, CI/CD, App registration and writing a blog. We might want to look at how we can automate it a bit more with some proper Infrastructure deployment with the web code and all baked together. Stay tuned!

